Manage Specification Section Libraries
In this topic, we'll show you how to manage Specification Section Libraries.
Add New Specification Sections
Update Specification Sections
You can edit the specification sections by following these steps.
You can remove the specification sections by following these steps.
Add New Specification Sections
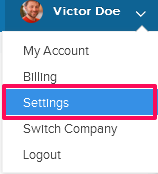
- Click on the profile image located on the top right corner of the Builderbox screen.

- Click on Settings.
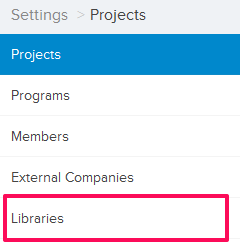
- Click on Libraries, listed on the left navigation.
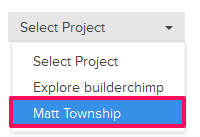
- Click on Select Project drop down and select a project.
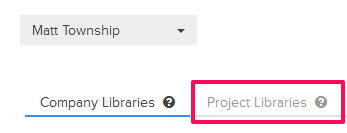
- Click on the Project Libraries tab.
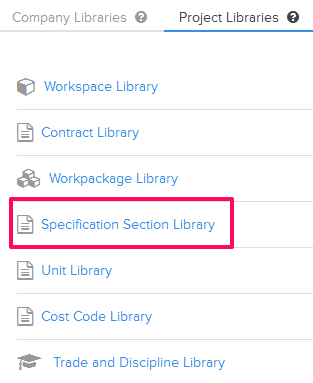
- Click on the Specification Section Library, located under the Project Libraries tab.
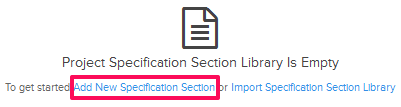
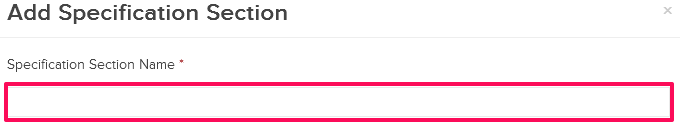
- Click on the Add New Specification Section link. A white screen with a link will only show until you haven’t added any specification section to the library. Once you add a specification section, you will see an Add New Specification Section button located on the top right corner of the screen. You can click on this button to add specification sections to the Specification Section Library.

- Enter the specification section name in the Name text box.
- Click on the Save button.
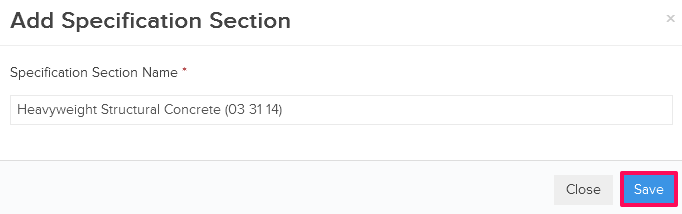
- Click on the OK button. The specification section will be added successfully.

Update Specification Sections
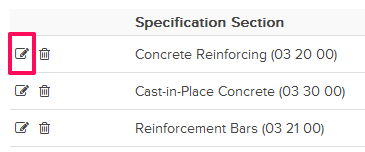
You can edit the specification sections by following these steps.
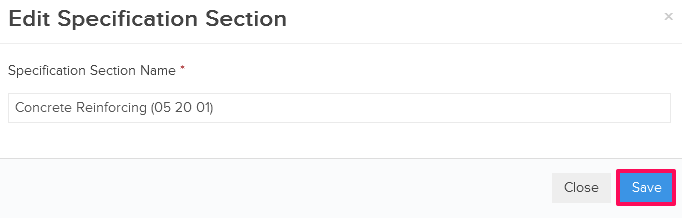
- Click on the Edit icon located next to the specification section.
- Update the specification section name in the Name text box.
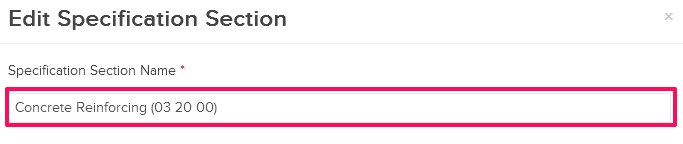
- Click on the Save button.
- Click on the OK button when prompted. The specification section will be updated successfully.

You can remove the specification sections by following these steps.
- Click on the Delete icon located next to the specification section. An alert, asking your permission to remove the specification section, will pop up.
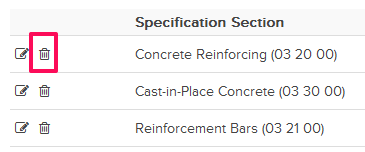
- Click on the Yes button.

- The specification section will be deleted successfully from the Specification Section Library.