Requests For Information (RFIs) Review by Designated Reviewer
In this topic, we'll show you how Requests For information (RFIs) are reviewed by the Designated Reviewers.
Note: A Designated Reviewer is the team member who will review the documents before they are sent out to the receiver. It is just like setting up a gate keeper who can review the documents before they are sent out to the intended company or team member.
Approve RFI
- Click on the Requests For Information module from the left navigation.

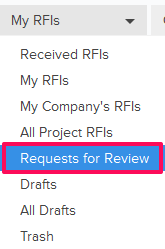
- Click on the RFIs category and select Requests for Review from the drop-down.


- Click on the Actions menu drop-down located next to the RFI No.

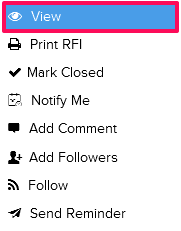
- Click on View.

- Click on the Approve button.
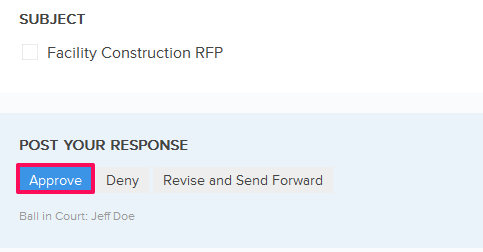
- Click on the Yes button.

- The RFI will be successfully approved by the Designated Reviewer. An email notification will be sent to the RFI author and others based on their Notifications Settings.

Deny RFI
- Click on the Request For Information module from the left navigation.

- Click on the RFIs category and select Request for Review from the drop-down.


- Click on the Actions menu drop-down located next to the RFI No.

- Click on the View.

- Click on the Deny button.
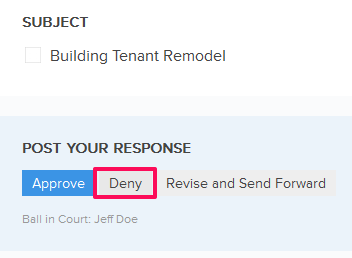
- Enter a comment in the Comment text box and then click on the Deny button.

- The RFI will be successfully denied. An email notification will be sent to the RFI author based on his/her Notifications Settings.

Revise and Send Forward the RFI
- Click on the Request For Information module from the left navigation.
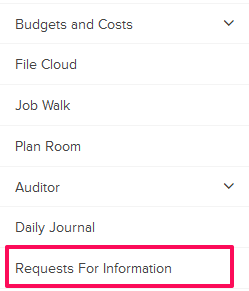
- Click on the RFIs category and select Requests for Review from the drop-down.

- Click on the Actions menu drop-down located next to the RFI No.

- Click on the View.
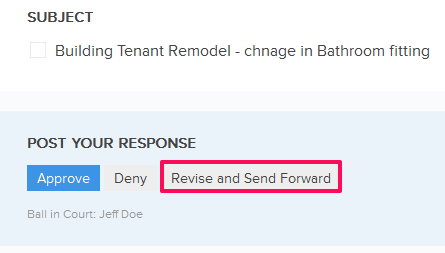
- Click on the Revise & Send Forward button.
- Click on the Yes button.

- Click in the Subject text box and change the RFI subject.

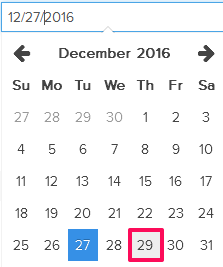
- Click on the Required Date field and change the date from the calendar.
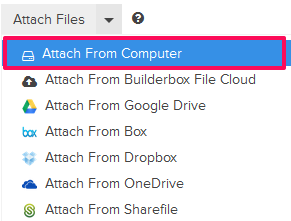
- Click on the Attach Files drop-down, select the Attach From Computer option and select the files that you want to attach with the RFI.
Note: You can also attach files from other cloud file storage services such as Google Drive, Dropbox, Box, ShareFile or One Drive. When you choose to attach files from a cloud service the system will ask for your permission to connect with the file storage service of your choice.
- Click on the Save and Approve button.
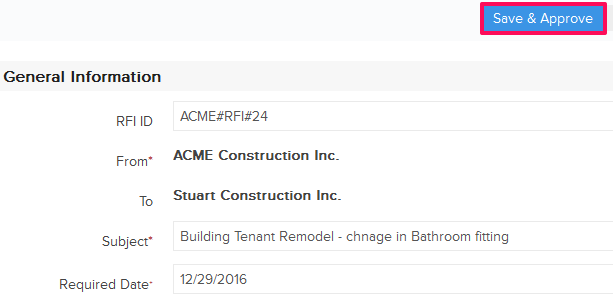
- Click on the Yes button. The RFI will be successfully revised and send forward. An email notification will be sent to the RFI author and others based on their Notifications Settings.


