Update the Company Settings
In this topic, we'll show you how to update the Company Settings.
From the Settings > Companies
- Click on the profile image located on the top right corner of Builderbox screen.
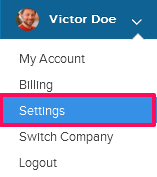
- Click on Settings.
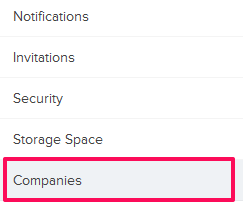
- Click on Companies, listed on the left navigation.
- Click on the Edit link.
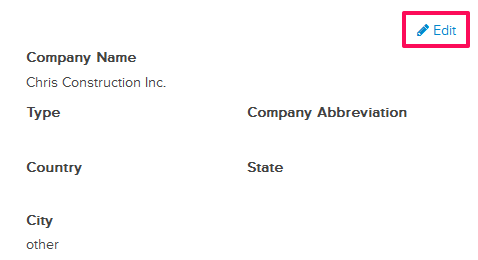
- Lets update the Type, Company Abbreviation and other company information from here.
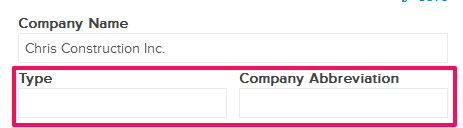
- To update the information enter the Type and Company Abbreviation for the Company.
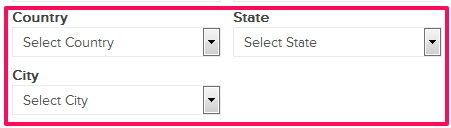
- Click on the Country/State/City drop downs and select the Country, State and City.
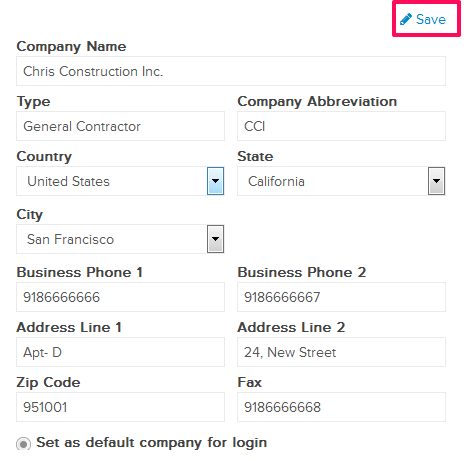
- Enter the Business Phone Number, Address, Zip Code and the Fax Number of the Company.

- Click on the Save link.
- Click on the OK The Company Settings will be updated successfully.

Change the Company Logo
- To change the Company Logo, click on the Edit link located on the top right side of the page.
- Click on the Browse button.
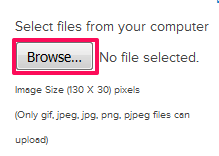
- Select the image from the your computer and upload it.
- The Company Logo will be updated successfully.
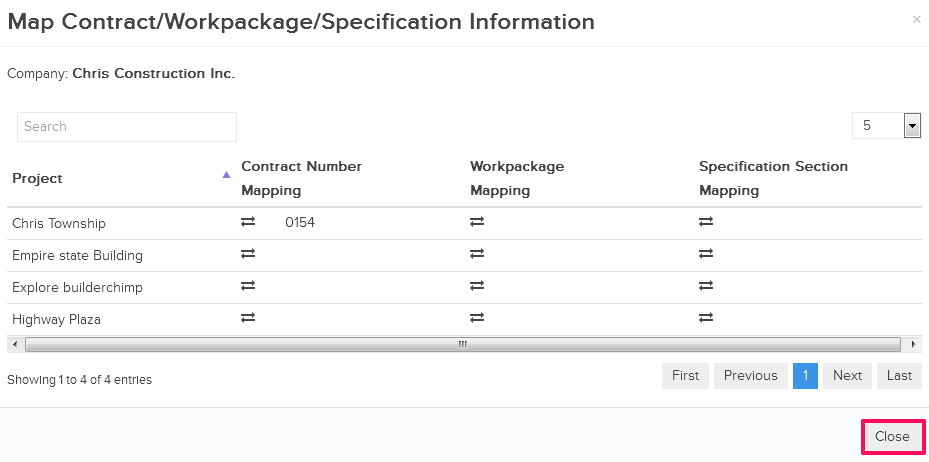
Map Contract Number
- You can also map the default Contract, Workpackage and Specification Section for the company. To change this information, click on the Map Contract/Workpackage/Specification Information link.
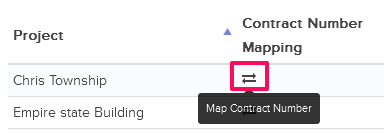
- Let’s map the Contract Number for your company. Click on the Map Contract Number icon.
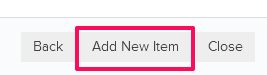
- Click on the Add New Item button.
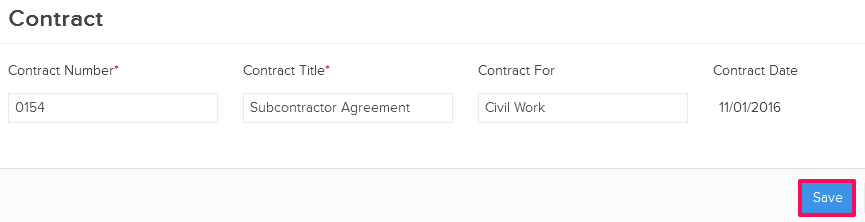
- Enter the Contract Number, Contract Title, Contract For information and select the Contract Date.

- Click on the Save button.
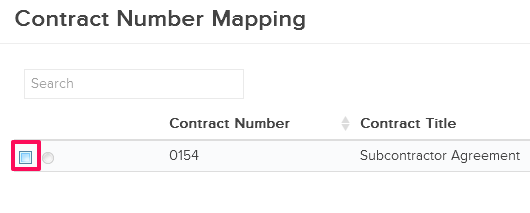
- Select the check box located next to the Contract Number to map the Contract Number to your company. You can also set the default Contract Number by selecting the Radio button located next to the Contract Number.

- Click on the Save button.

- Contract Number will be mapped with Company in the project.
- Click on the Close button.