Manage Program Level Dashboards
Add New Program Level Dashboards
In this topic, we'll show you how to manage the Program Level Dashboards.
- Click on the profile image located on the top right corner of the Builderbox screen.
- Click on Settings.

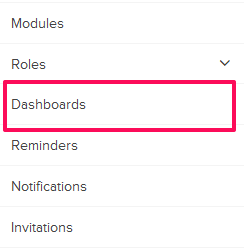
- Click on Dashboards, listed on the left navigation.
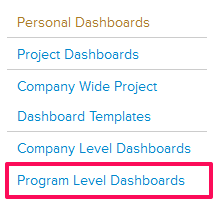
- Click on the Program Level Dashboards link.
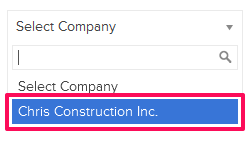
- Click on Select Company drop down and select a Company.

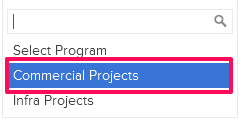
- Click on Select Program drop down and select a Program.
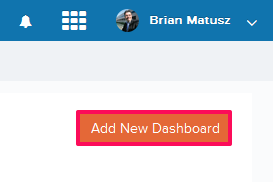
- Click on the Add New Dashboard button.
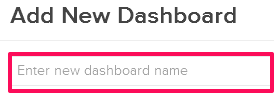
- Enter the Dashboard Name in the input box.
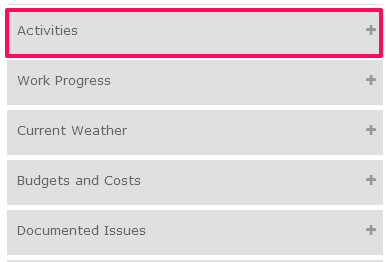
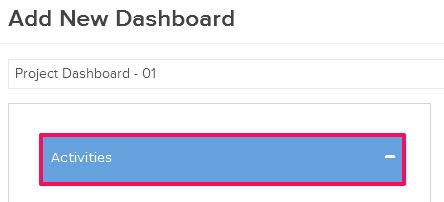
- To add the cards to the Dashboard, click on the Add icon located next to the Activities card.
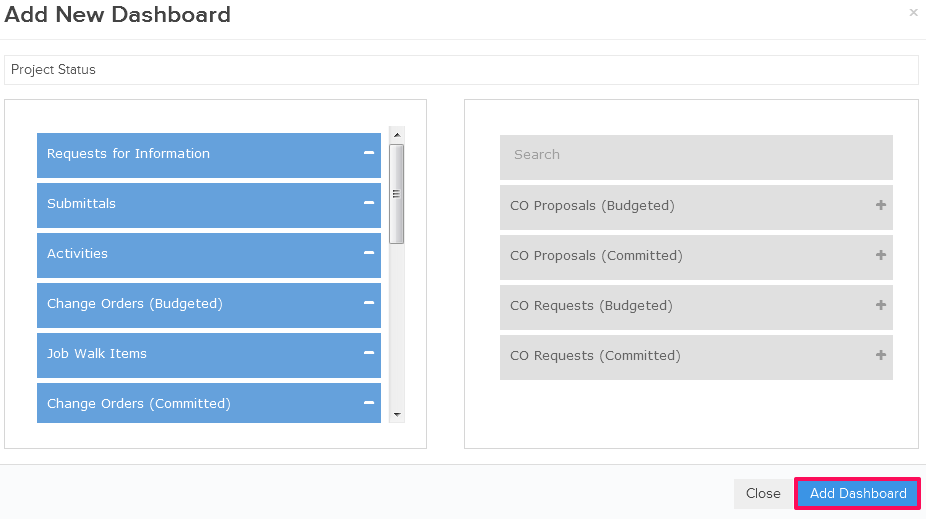
- Click on the Add Dashboard button to add the Dashboard.
Edit Program Level Dashboards
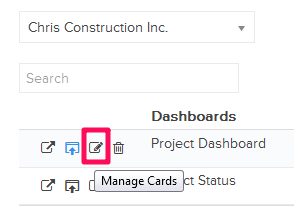
- Click on the Manage Cards icon.
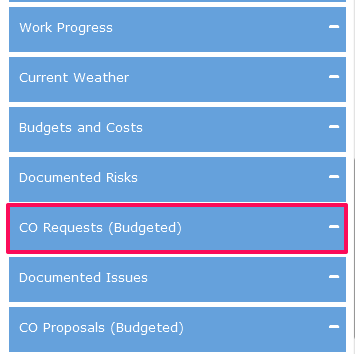
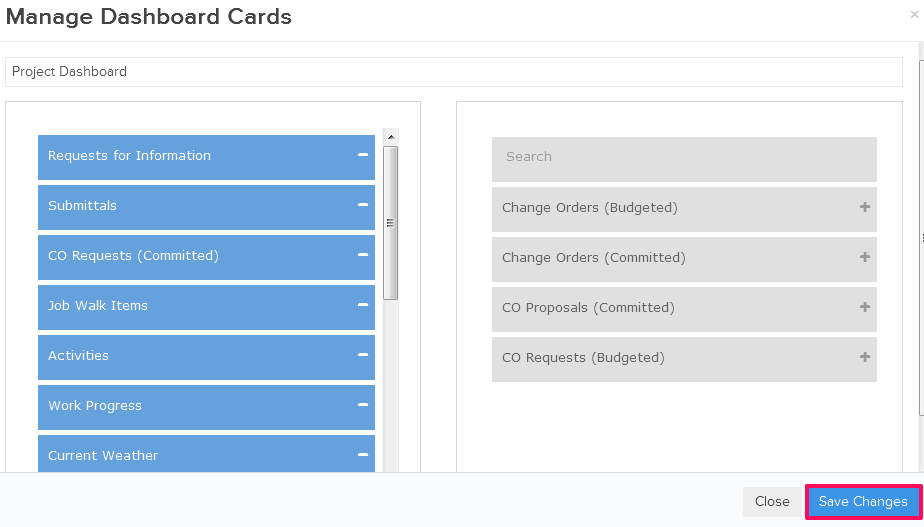
- Click on the Remove icon located next to the Change Order Requests (Budgeted) card. The Change Order Requests (Budgeted) card will no longer show on the Dashboard.
- To add more cards to the Dashboard, click on the Add icon located next to the Open Items card.

- You can also change the card arrangement by simply dragging-and-dropping cards up and down in the list.
- Click on the Save Changes button to save all the changes.
Preview Program Level Dashboards
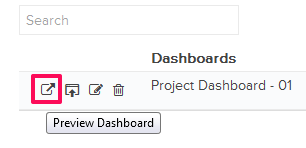
- Click on the Preview Dashboard icon.
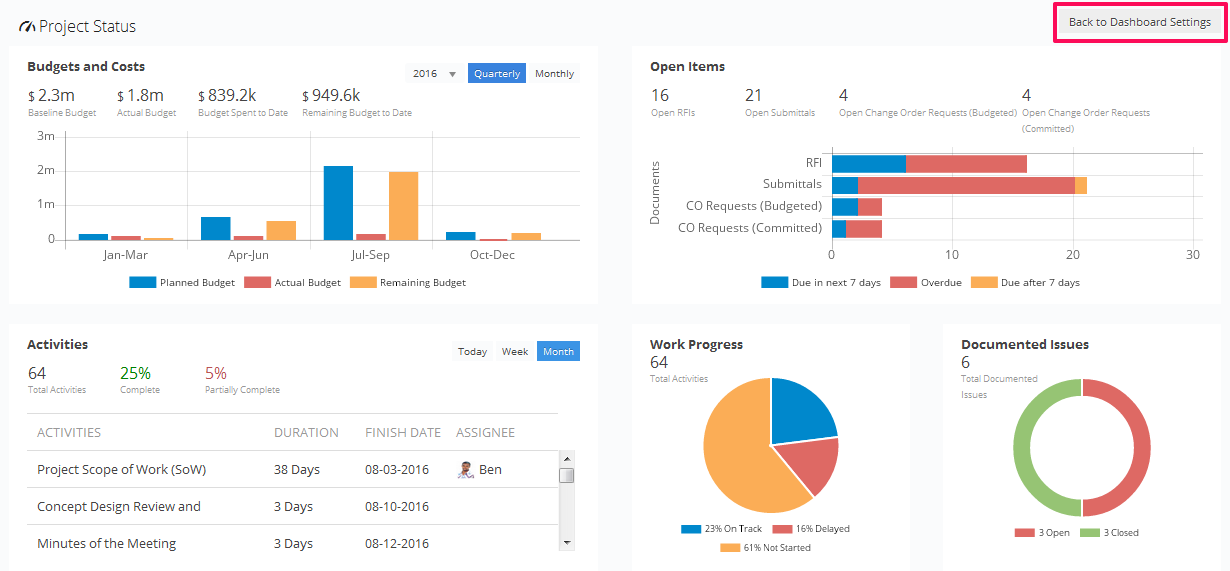
- Click on the Back to Dashboard Settings button. You will be redirected to Dashboard Settings page.
Publish Program Level Dashboards
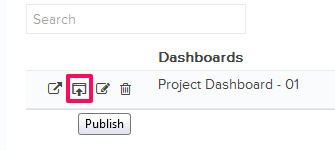
- Click on the Publish icon.
- The Dashboard will be published successfully.
- Click on the Unpublish icon.
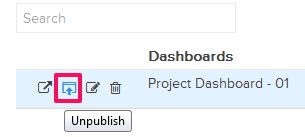
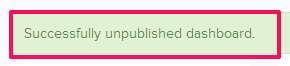
- The Dashboard will be unpublished successfully.
Delete Program Level Dashboards
- Click on the Remove Dashboard icon.
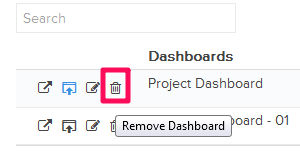
- Click on the Yes button. The Dashboard will be removed successfully .