Manage Company Roles
In this topic, we'll show you how to add and assign Company Roles.
Note: Company Roles can be used for restricting access to certain products, modules, information or actions within a company.
Add Company Roles
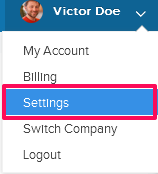
- Click on the profile image located on the top right corner of the Builderbox screen.

- Click on Settings.
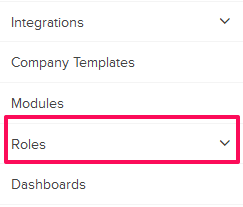
- Click on the Roles from the left navigation.

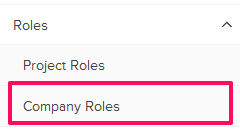
- Click on Company Roles.

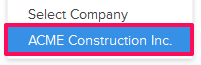
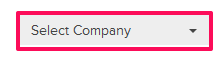
- Click on the Select Company drop down and select a Company.

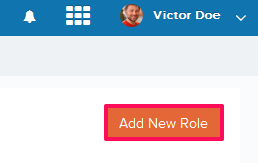
- Click on the Add New Role button.
- Enter a name and a description for the role.

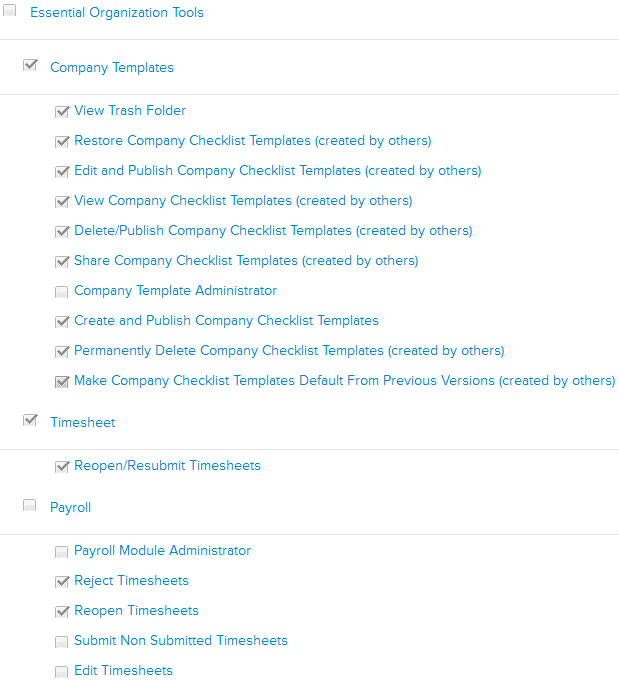
- Click on Company Templates. Note: We are using Company Templates module as an example here. You can replicate the same process for any other modules on the list.
- Select the check boxes next to the permissions/resources that you want to assign to the members with this role.
- Click on the Save button.
Note: The new role will be successfully saved.
Assign Company Roles
- Click on the profile image located on the top right corner of the Builderbox screen.

- Click on Settings

- Click on the Roles from the left navigation.
- Click on Company Roles.
- Click on the Select Company drop down and select a Company.

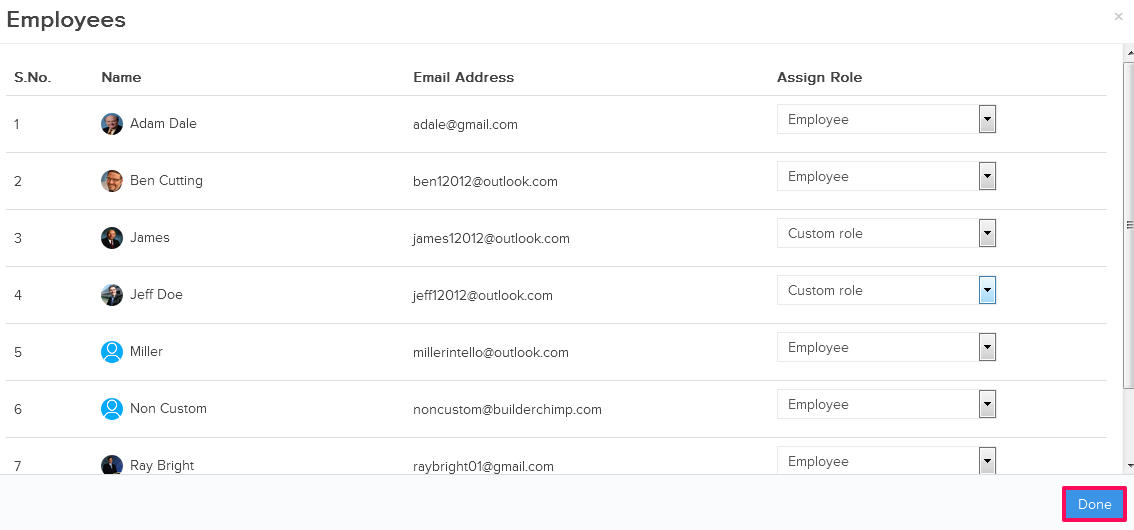
- Click on View Role Members icon.

- Click on Assign Role drop down located next to the member, whom you want to assign a role to, and select a role from the list. Let’s select Custom Role for the tutorial purposes.

- Click on the Done button.
Note: The selected role will be assigned to the selected member.