How to Process New Equipment Rentals
In this topic, we'll show you how to process new equipment rentals.
Note: Ideally all vendors should be invited to Builderbox and they should have access to their dashboard. However, it may not be practical to invite everyone on the platform, especially for small orders and transactions. In that case another user with the right permissions can make entries on behalf of the vendors by accessing their dashboards.
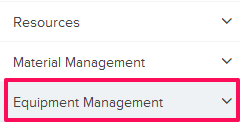
- Click on the Equipment Management module from the left
navigation.
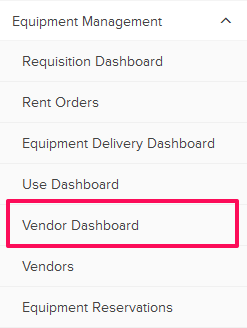
- Click on Vendor Dashboard.
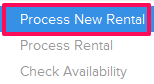
- Click on the Vendor Dashboard Action and select Process New Rental from the drop-down list.

- Enter the shipping address in the Ship To field.

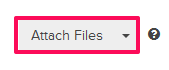
- Click on the Attach Files drop down.
- Select the Attach From Computer option and select the files that you want to attach with the Process Rental.
Note: You can also attach files from other cloud file storage services such as Google Drive, Dropbox, Box, ShareFile or One Drive. When you choose to attach files from a cloud service the system will ask for your permission to connect with the file storage service of your choice.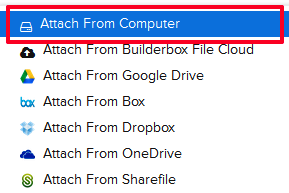
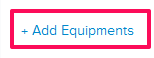
- Click on the Add Equipments link.
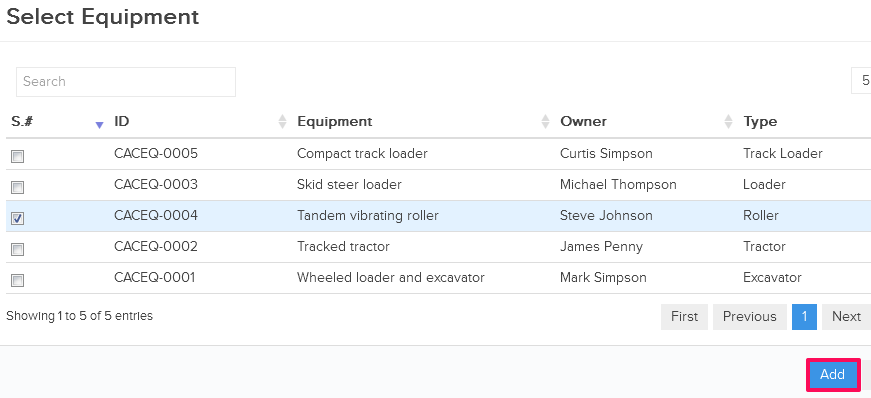
- Select the checkboxes located next to the IDs of the equipments materials that you want to add to the delivery and click on the Add button.
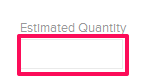
- Enter the estimated quantities of the equipments in the Estimated Quantity input boxes.
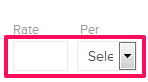
- Enter the rates of the equipments in the Rate input box.
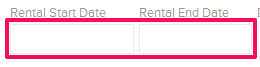
- Click on the Date field and select the rental start and end dates from the calendar.
- Click on the Process Rental button.

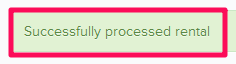
- Selected equipment will be successfully proceed for rental.