How to Process Rent Orders
In this topic, we'll show you how to process Equipment Rent orders.
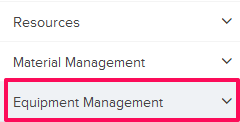
- Click on the Equipment Management module from the left
navigation.
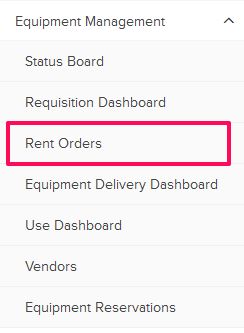
- Click on Rent Orders.
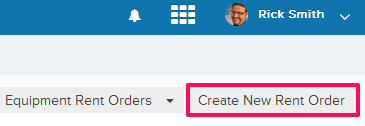
- Click on the Create New Rent Order button located on the top right corner of the screen.
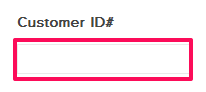
- Enter a customer id in the Customer ID input box.
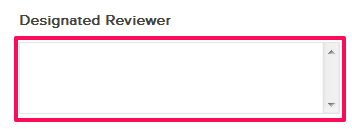
- Click on the Designated Reviewer box.
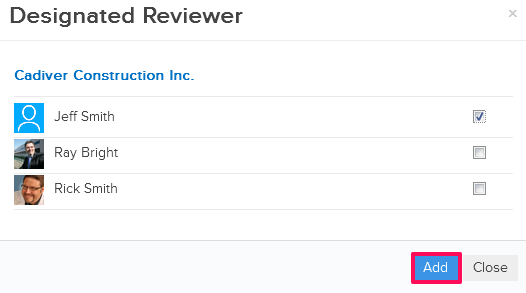
- Select the checkboxes next to the reviewer names and then click on the Add button.
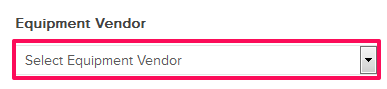
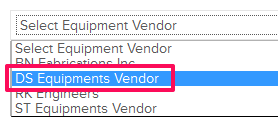
- Click on the Equipment Vendor drop down and select the equipment vendor from the drop down list.
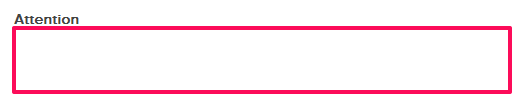
- Click on the Attention box filed.
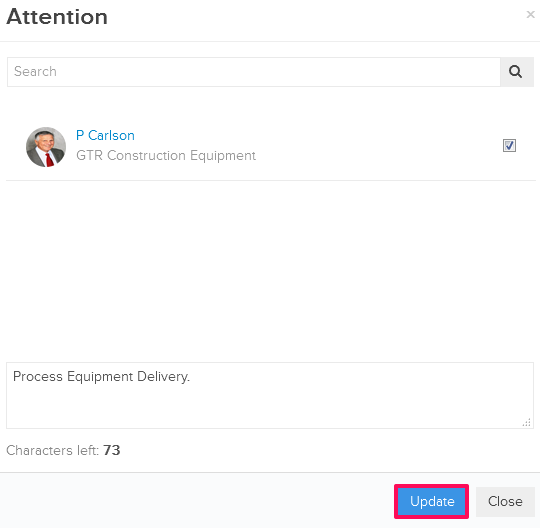
- Select the checkboxes next to the assignee names and then click on the Update button.
- Click on the Attach Files drop down.
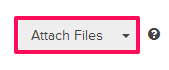
- Select the Attach From Computer option and select the files that you want to attach with the Rent Order.
Note: You can also attach files from other cloud file storage services such as Google Drive, Dropbox, Box, ShareFile or One Drive. When you choose to attach files from a cloud service the system will ask for your permission to connect with the file storage service of your choice.
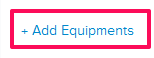
- Click on the Add Equipments link.
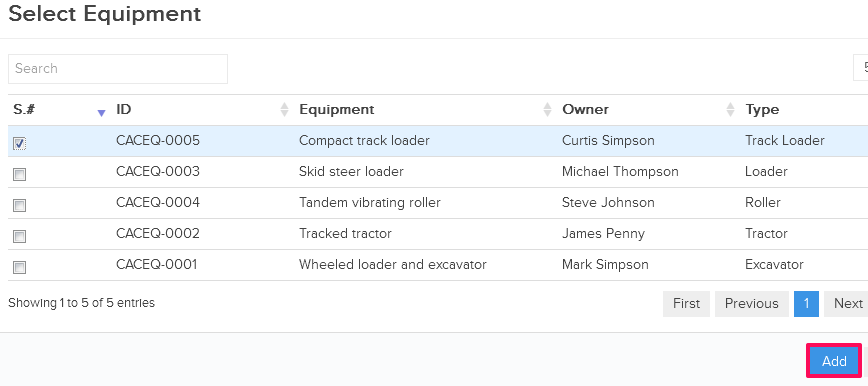
- Select the checkboxes located next to the IDs of the equipments that you want to order and click on the Add button.
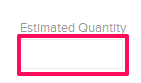
- Enter the estimated quantities of the equipments in the Estimated Quantity input box.
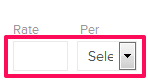
- Enter the rates in the Rate input box.
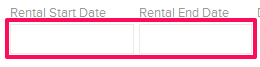
- Click on the Date field and select the rental start and end dates from the calendar.
- Click on the Process Rent Order button.
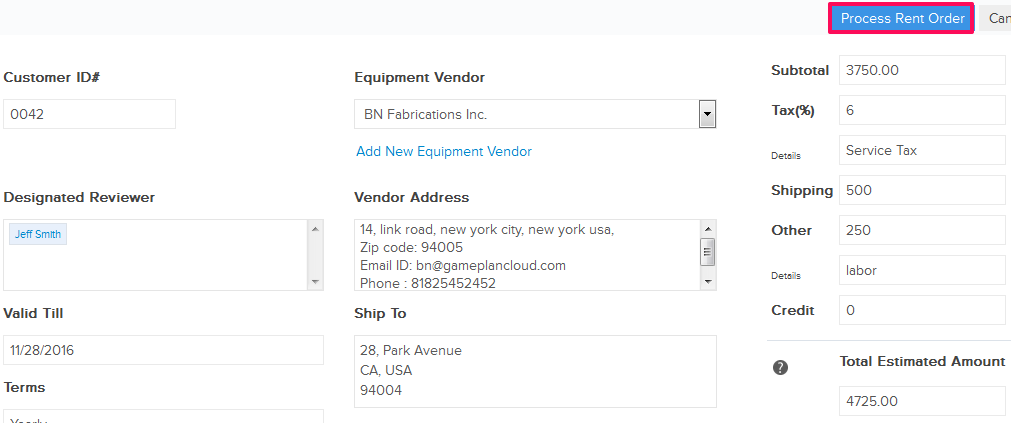
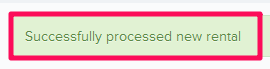
- Rent order will be successfully processed.