Add New Payments (Received)
In this topic, we'll show you how to add new Payments.
From the Payment Received Dashboard
- Click on the Payments module from the left navigation.
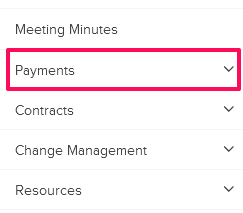
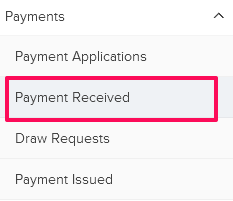
- Click on Payment Received.
- Click on the Add New Payment link. A white screen with a link will only show until you haven’t added any Payment to the project. Once you add a Payment, you will see a Add New Payment button located on the top right corner of the screen. You can click on this button to add new Payments.


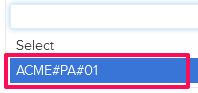
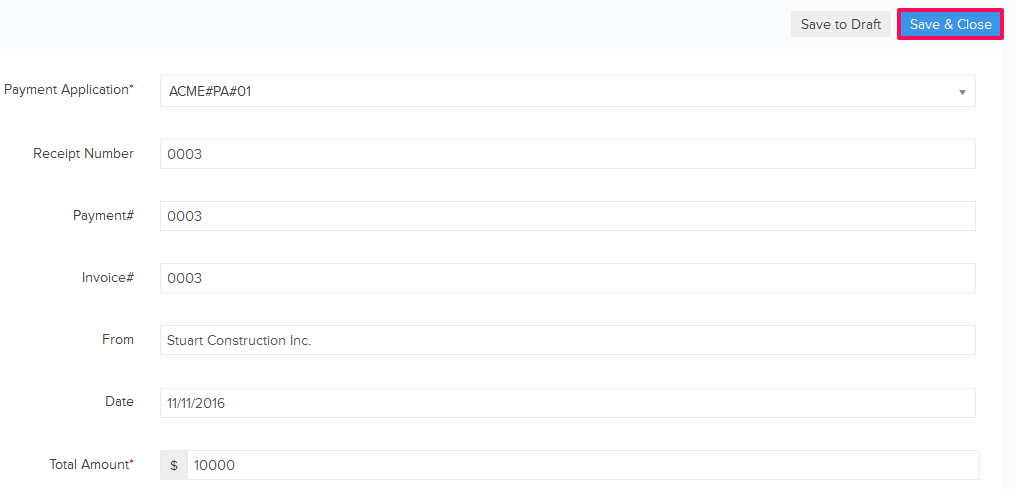
- Click on the Payment Application dropdown and select the payment application from the drop down list. Please note that received payments will only be logged against a Payment Application and so it is a mandatory field. If you haven’t added any Payment Application yet, you can add it by using the Payment Applications module.

- Enter a name (by whom, you got payment) in the From field.

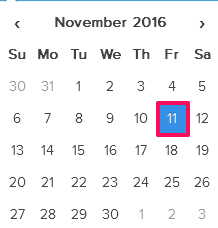
- Click on the Date field and select a date from the calendar.

- Enter an amount in the Total Amount field.

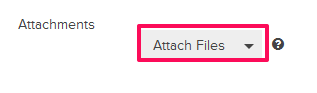
- Click on the Attach Files drop down.
- Select the Attach From Computer option and select the files that you want to attach with the Payment.
Note: You can also attach files from other cloud file storage services such as Google Drive, Dropbox, Box, ShareFile or One Drive. When you choose to attach files from a cloud service the system will ask for your permission to connect with the file storage service of your choice.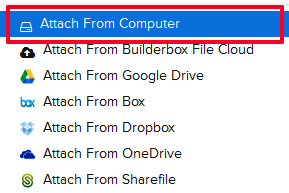
- Click on the Save & Close button.
- The Payment will be successfully logged.