Payment Applications Number Settings
In this topic, we'll show you how to customize Payment Applications numbering.
You can easily customize Payment Applications numbering to follow your custom numbering system by using this feature.
From the Payment Applications Dashboard
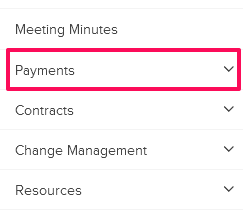
- Click on the Payments module from the left navigation.
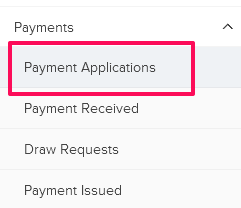
- Click on Payment Applications.
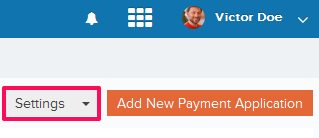
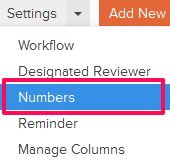
- Click on Settings and then click on Numbers from the drop-down.
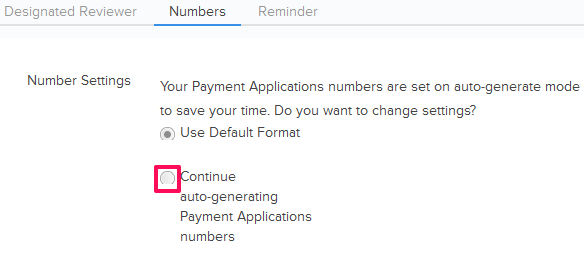
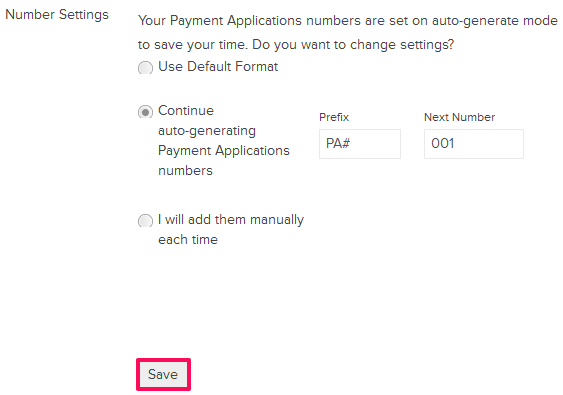
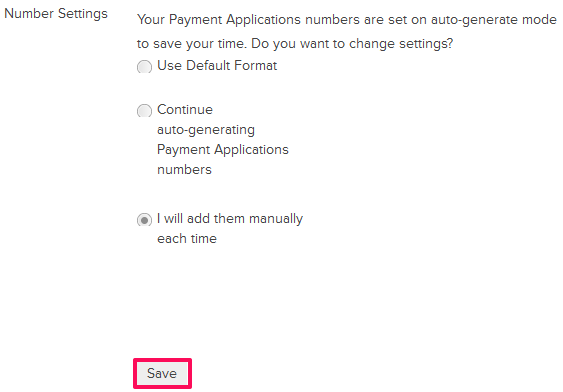
- You can choose to use the default numbering system. The default numbering is assigned based on the company name and document type. In case of Payment Applications, the document type is Payment Applications. To add a prefix to the Payment Applications numbering and then auto generating numbers after that, use the second option – “Continue auto-generating Payment Applications numbers.” You can also choose to manually enter Payment Application number by selecting the third option – “I will add them manually each time.” To use the second option, select the Radio button located next to “Continue auto-generating Payment Applications numbers”
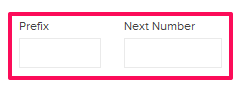
- Enter the Payment Applications Prefix and the Next Number in the sequence. All the new Payment Applications generated in the project will follow this number and the Payment Applications numbers will be auto generated in sequence.
- Click on the Save button.
- Click on the OK button. The custom numbering settings will be successfully saved.

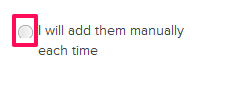
- To use the third option, select the Radio button located next to “I will add them manually each time”.
- Click on the Save button.
- Click on the OK button. The custom numbering settings will be successfully saved.
