Change Order Requests (Committed) Workflow Settings
In this topic, we'll show you how to setup a custom workflow for the Change Order Requests (Committed) process. You can customize the Change Order Requests (Committed) workflow to suite your project’s needs.
Every company can have its own custom Change Order Requests (Committed) Workflow in a project. So, the Change Order Request (Committed) Workflow for company A can be different than that of company B. For instance, the workflow for a Change Order Request (Committed) sent by company B to company C can be different than what it is for the company A sending a Change Order Request (Committed) to company C. Also, the workflow for a Change Order Request (Committed) sent by company B to company D can be different than what it is for the company B sending a Change Order Request (Committed) to company C. The workflows can be easily setup in advance and automated using the Custom Workflows feature. You can also choose which companies can send Change Order Requests (Committed) to which other companies on the project.
From the Change Order Requests (Committed) Dashboard
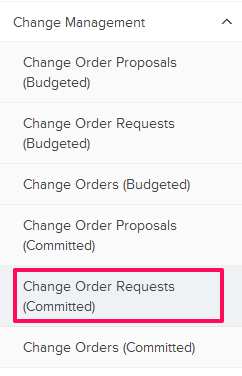
- Click on the Change Management module from the left navigation.

- Click on the Change Order Requests (Committed).
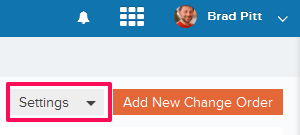
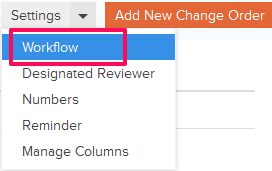
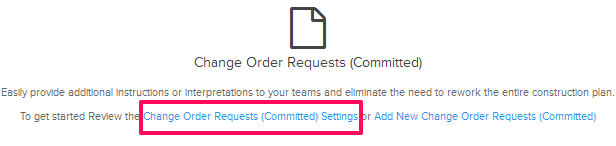
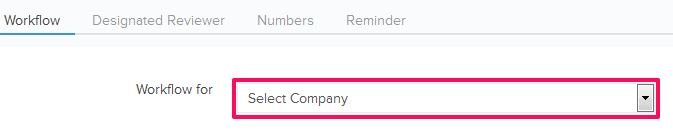
- Click on Settings and then click on Workflow from the drop-down. You may see a blank screen in the case when no Change Order Request is added to the project yet. Click on Change Order Requests (Committed) Settings link in that case.
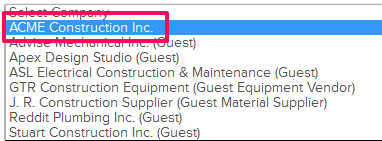
- Click on the Select Company drop down.
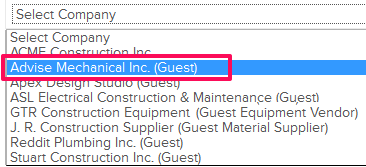
- Select the company, for which you want to add the Change Order Requests (Committed) Workflow for, from the Select Company drop down.
- Click inside the Choose a Company input box.

- One by one select the companies, to which the other company selected in the previous steps can send the Change Order Requests to, from the drop down list. You can choose to restrict companies from sending the Change Order Requests to certain other companies on the project.

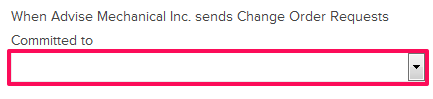
- Click on the Use following workflow radio button.

- Click on the Select Company drop down and select the company, for which you want to setup the workflow for.

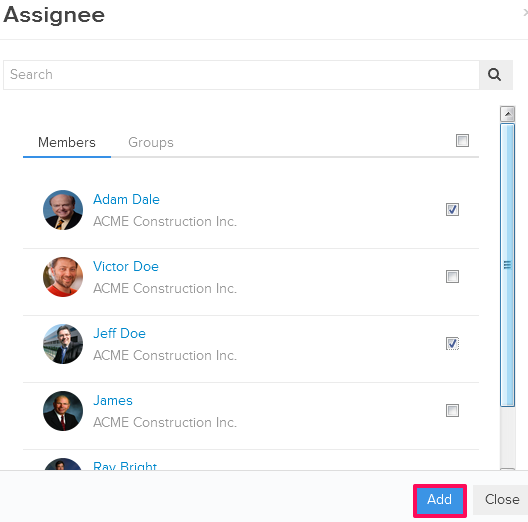
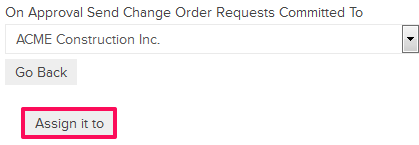
- Click on the Assign it to button.
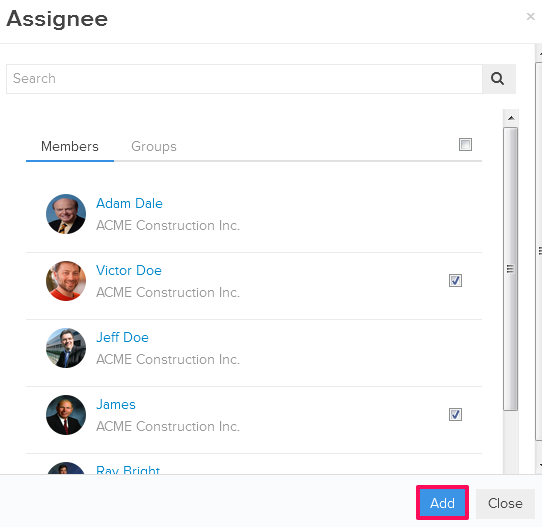
- Select the check boxes next to the user names, to whom you want to automatically assign Change Order Request to in this phase of the Change Order Requests (Committed) Workflow, and then click on the Add button.
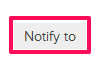
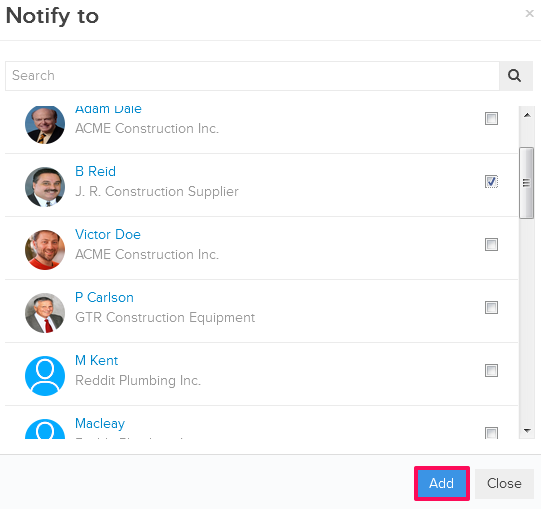
- Click on the Notify to button.
- Select the check boxes next to the user names, to whom you want to automatically notify in this phase of the Change Order Requests (Committed) Workflow, and then click on the Add button.
- Click on the Send Change Order Requests to Someone Else button.

- You can choose to send the Change Order Requests to other companies once reviewed. The Change Order Requests will be automatically sent to the next phase once it’s approved by the reviewers and the assignees will be automatically notified that they need to take action next. To add another company to the workflow, click on the Select Company drop down and select the company, to which you want to send the Change Order Requests next.

- Click on the Assign it to button.
- Select the check boxes next to the user names, to whom you want to automatically assign Change Order Request to in this phase of the Change Order Requests (Committed) Workflow, and then click on the Add button.
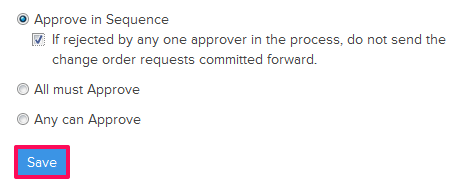
- You can choose from three types of workflows- 1) Approve in Sequence (Change Order Requests will be sent in an step by step workflow), 2) All must Approve (Change Order Requests will be sent to everyone in the workflow in one step and everyone will have to approve them in order to get them marked Approved), 3) Any can Approve (Change Order Requests will be sent to everyone in the workflow in one step and anyone can approve them in order to get them marked Approved). Let select the Approve in Sequence for example and also let’s select the check box located next to the ‘If rejected by any one approver in the process, do not send the change order Requests forward.’

- Click on the Mark it Complete button.

- Click on the Save button and then click on the OK button.

Note: The Change Order Requests (Committed) Workflow will be saved for the chosen company. In our example scenario above, the Change Order Requests (Committed) Workflow will be saved for ACME Construction Inc.