Add New Architect’s Supplemental Instructions (ASIs)
In this topic, we'll show you how to add new Architect’s Supplemental Instructions (ASIs).
From the ASI page
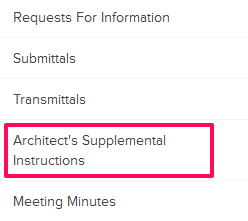
- Click on the
Architect’s Supplemental Instructions module from the left navigation.
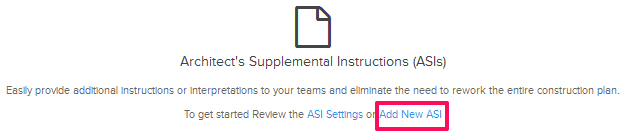
- Click on the Add New ASI link. A white screen with
a link will only show until you haven’t added any ASIs to the project.
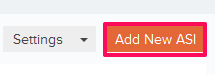
Once you add an ASI, you will see a Add New ASI button located on the top right corner of the screen. You can click on this button to add new ASIs.
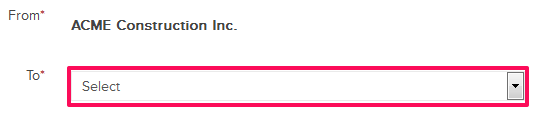
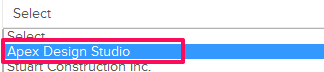
- Click on the Company drop down and select the company, to which you want to send the ASI to, from the drop down list.
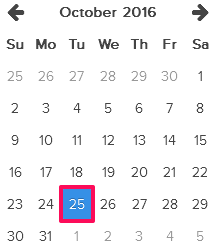
- Click on the Date of Issuance field and select a date from the calendar.

- Enter an ASI subject in the Subject field.

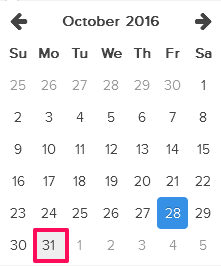
- Click on the Due Date field and select a date from the calendar.

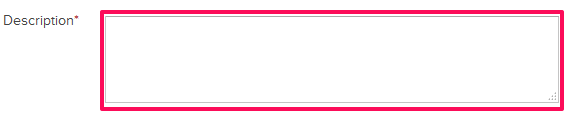
- Enter an ASI description in the Description field.
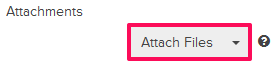
- Click on the Attach Files drop down.
- Select the Attach From Computer option and select the files that you want to attach with the ASI.
Note: You can also attach files from other cloud file storage services such as Google Drive, Dropbox, Box, ShareFile or One Drive. When you choose to attach files from a cloud service the system will ask for your permission to connect with the file storage service of your choice.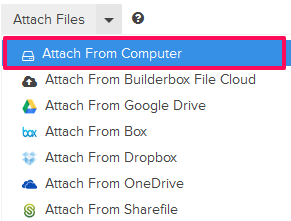
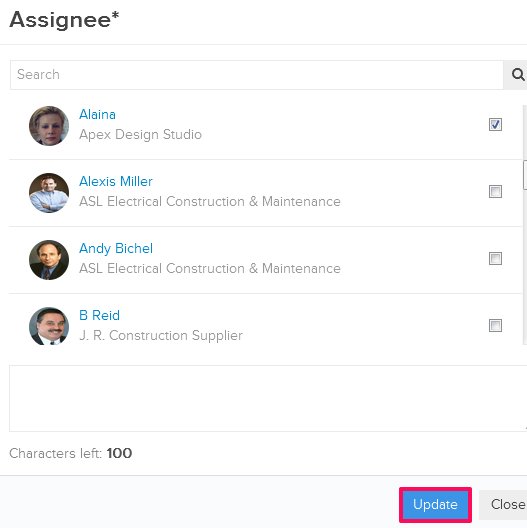
- Click on the Attention text box. An Attention pop up will show.

- Select the checkboxes next to the team member names, whom you want to assign the ASI to, and then click on the Update button. The team member names may be prepopulated based on your Workflow Settings.
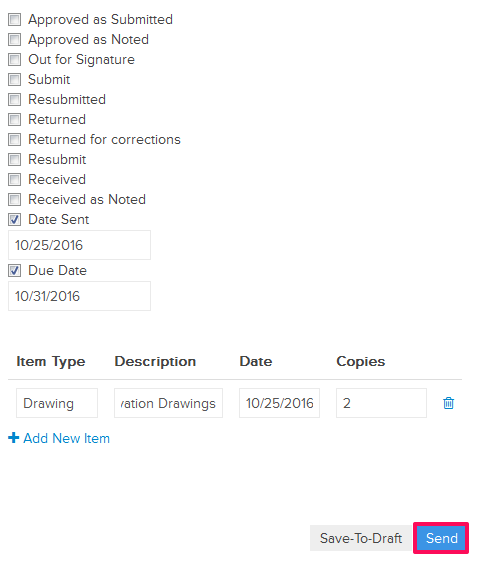
- Click on the Send button.
The ASI will be sent to the assignees selected in the previous steps and a message will be posted on the Activity Stream. Assignees will also get notified by email based on their Notifications Settings.