Customize the Submittals Module
In this topic, we'll show you how to customize the Submittals module for your project.
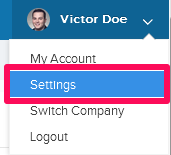
- Click on the profile image located on the top right corner of the Builderbox screen.

- Click on Settings.
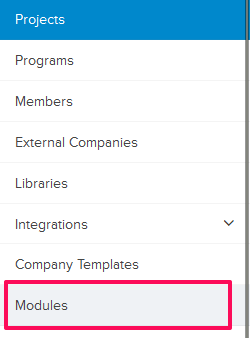
- Click on Modules, listed on the Settings menu.
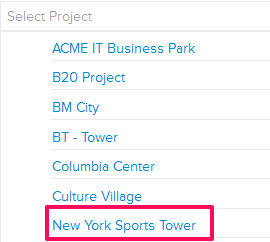
- Click on Select Project drop down and select a Project.

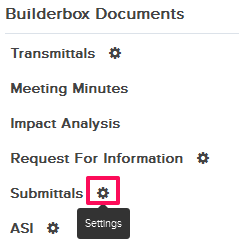
- Click on the Gear (Settings) icon located next to the Submittals It is listed under Builderbox Documents.
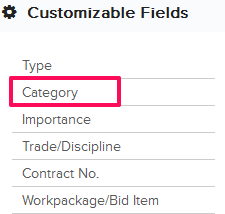
- You can customize the fields included in the Submittal forms from here. For example, let’s customize the Category field.
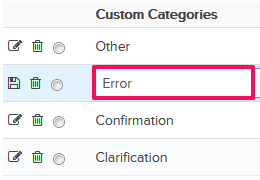
- Click on the Category link.
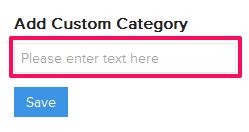
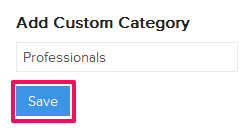
- Enter a name for the Category.
- Click on the Save button.
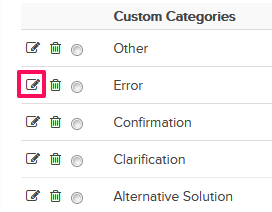
- A new Category will be added to the Submittal module and it will be available in the Category drop down list in the Submittal. You can add any number of Submittal Categories to the list.
- Once added, you can easily update the Category and set it as default Category for every new Submittal added to the project.
- To edit the Category, click on Edit icon.
- Update the item and click on the Update icon.
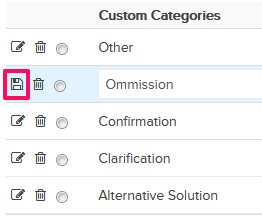
- The Category will be updated successfully.
- Now, let’s click on the Delete icon.
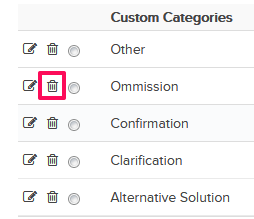
- Click on the Yes button.

- The selected Category will be deleted from the list.
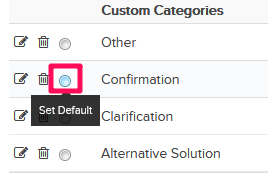
- Set the default Category for all newly added Submittals by clicking on the default Category radio button located next to the Category in the list.
- You can also choose to show or hide a particular field on the Submittal To hide a field from all new Submittal forms click on the Show/Hide slider located next to Show Category.


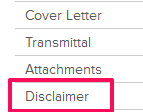
- Let’s customize Disclaimer filed next. Click on the Disclaimer link from the list.
- You will see that a default Disclaimer text is already added to the field. You can change it to suite your needs. Update the Disclaimer and click on the Save button.
Note: Disclaimers have legal implications. It is highly recommend that you change this as per the contract requirements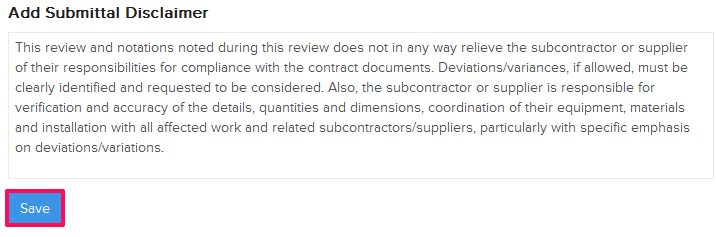
From Settings > Modules
Manage Columns Setting
You can easily customize the default Table View for the Submittals module for all the team members in the project. Please note that the team members will also have an ability to add their own personal views from the Submittals Dashboard.
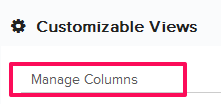
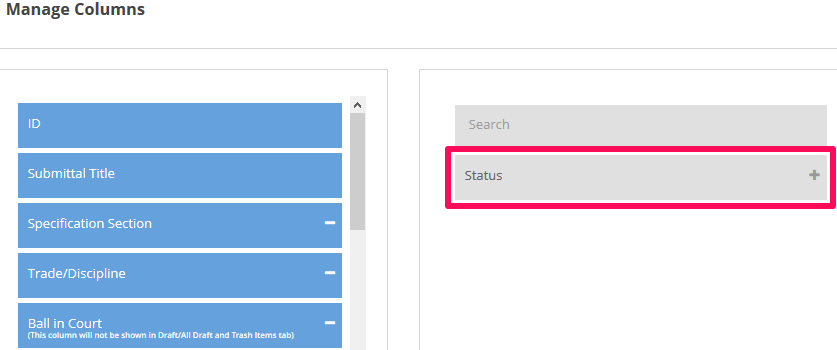
- To setup, the default Table View for the Submittals module, click on the Manage Columns link.
- Click on the Remove icon located next to the Status. The Status column will no longer show in the Table View on the Submittal page.
Note: Every user (team member) can set up her own view from personal settings, once customized on personal account level, the default Table View will be over written with the personal settings.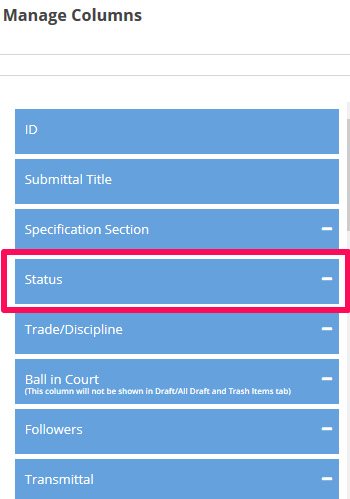
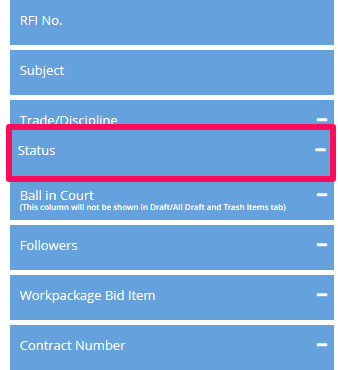
- To add the column back to the Table View on the Submittal page, click on the Add icon located next to the Status column
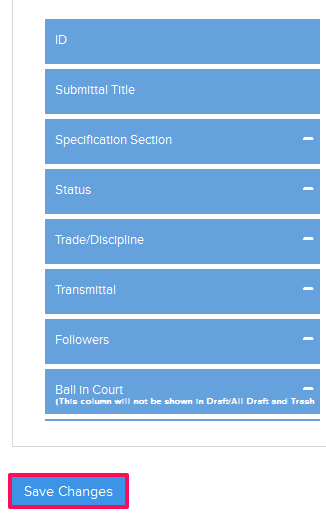
- You can also change the column arrangement by simply dragging-dropping columns up and down in the list.
- Click on the Save Changes button to save all the changes.
- Click on the OK button.

From the Submittals Dashboard
Manage Columns Setting
A user (team member) can easily customize her own personal Table View for the Submittal module using the Manage Columns settings.
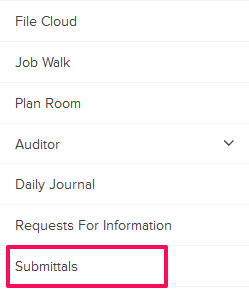
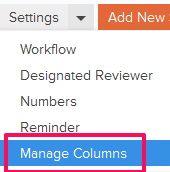
- To customize the personal Table View for the Submittals module, click on the Submittals module from the left navigation.
- Click on the Settings drop-down and then click on Manage Columns.

- Update the column settings by adding or removing the columns from the list and by dragging and dropping the columns up and down and then click on the Save Changes button.

- Click on the OK button.
