Add New Submittals
In this topic, we'll show you how to add new Submittals
From the Activity Stream
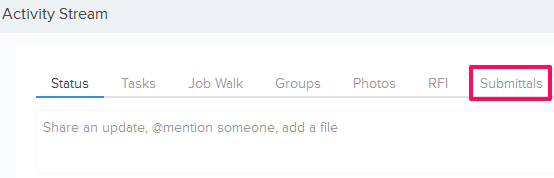
- Click on the Submittals tab on the Activity Stream.
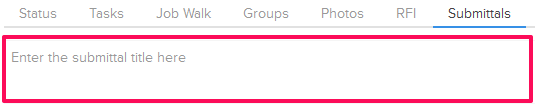
- Enter the submittal title in the text box.
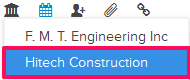
- Click on the Company icon.
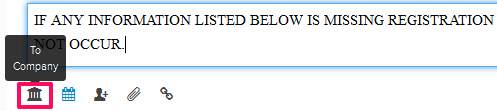
- Select the company, to which you wan to send the Submittal to, from the drop down list.
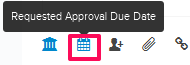
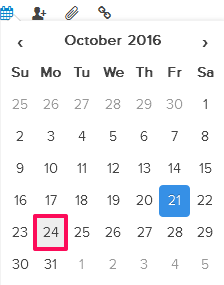
- Click on the Requested Approval Due Date icon and select a date from the calendar.
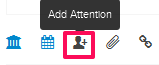
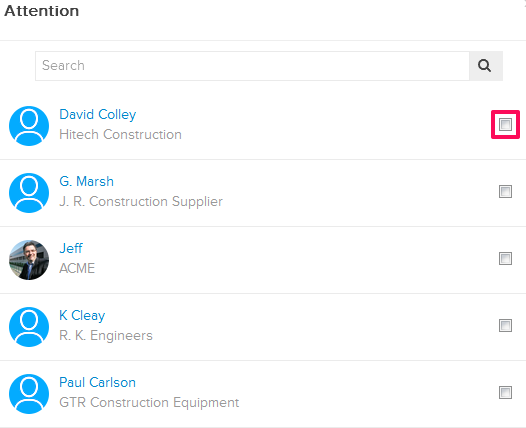
- Click on the Add Attention icon.
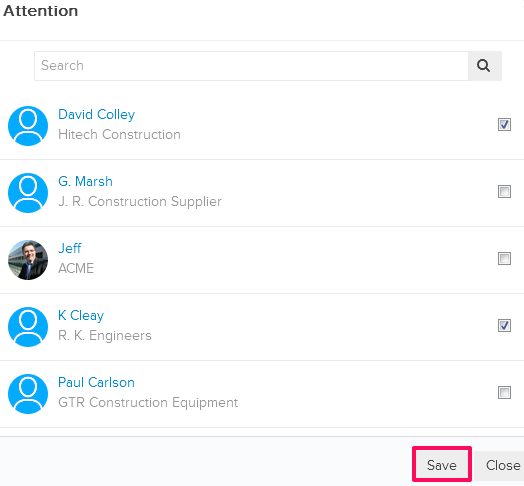
- Select the checkboxes next to the assignee names. The assignee names may be prepopulated based on your Workflow Settings.
- Click on the Save button.
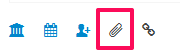
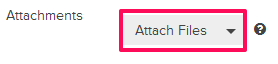
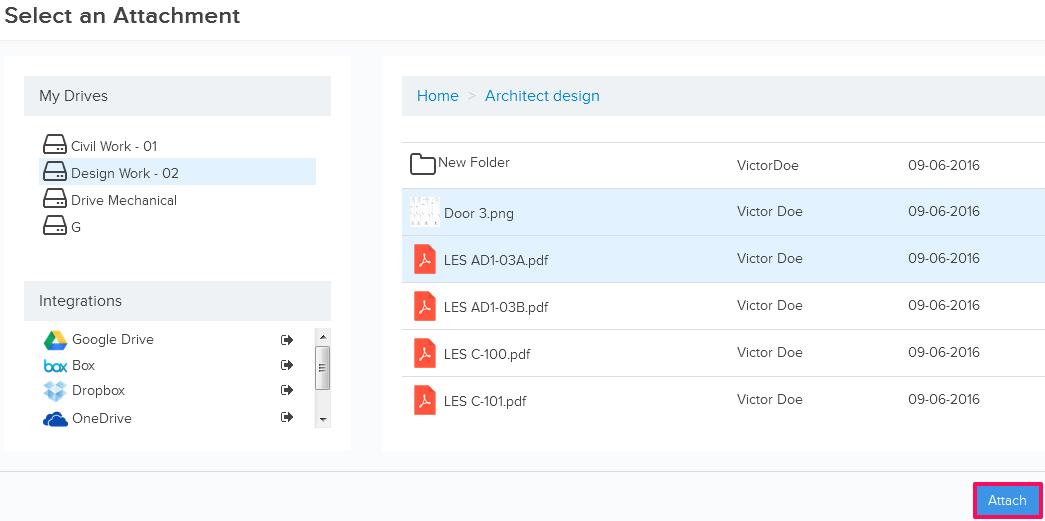
- Click on the Attach File icon.
- Select the Attach From Computer option and select the files that you want to attach with the Submittal.
Note: You can also attach files from other cloud file storage services such as Google Drive, Dropbox, Box, ShareFile or One Drive. When you choose to attach files from a cloud service the system will ask for your permission to connect with the file storage service of your choice.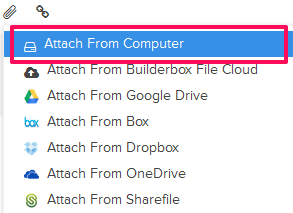
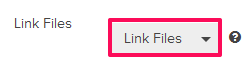
- Click on the Link Files icon.
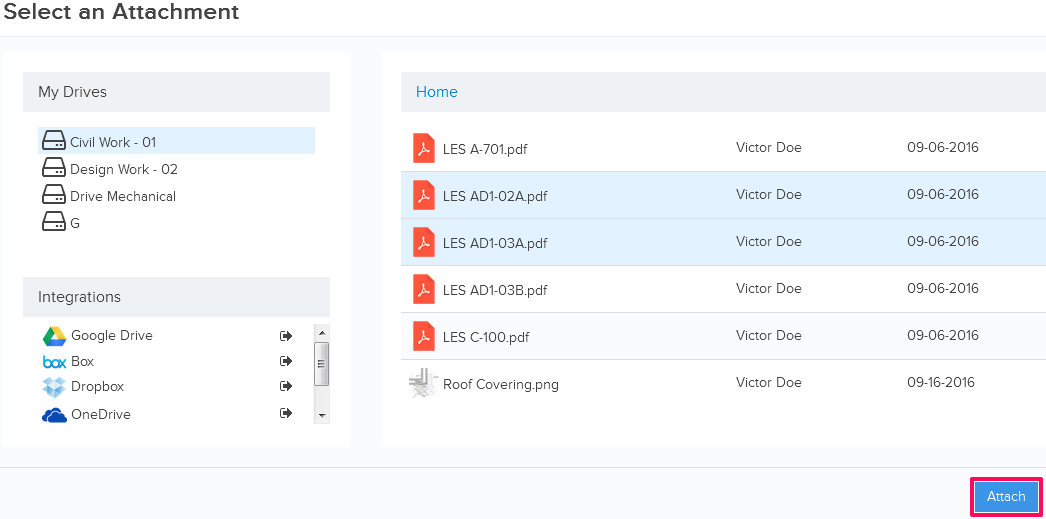
- Select the Attach From Builderbox File Cloud option and select the files that you want to link with the Submittal.
Note: You can also link files from other cloud file storage services such as Google Drive, Dropbox, Box, ShareFile or One Drive. When you choose to link files from a cloud service the system will ask for your permission to connect with the file storage service of your choice. “Linking Files” to a document is different than “Attaching Files.” When you link a file, it will only attach a link of the file from the cloud service and won’t make a snapshot (in time) of that file. On the other hand when you use the “Attach Files” feature, a snapshot (in time) of the attached files will be stored as record with the documents.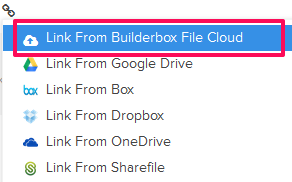
- Click on the Submit button.

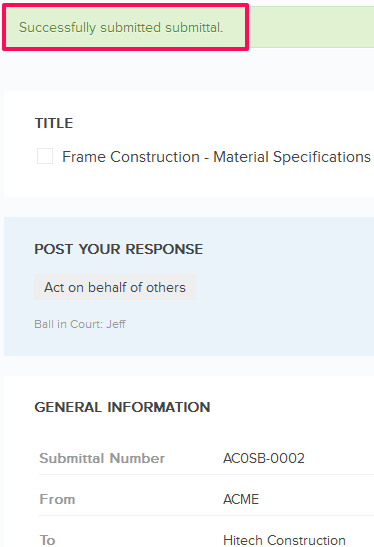
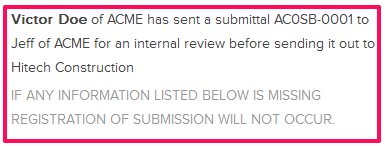
- The Submittal will be sent to the assignees selected in the previous steps and a message will be posted on the Activity Stream. Assignees will also get notified by email based on their Notifications Settings.
From the Submittals page
- Click on the Submittals module from the left navigation.
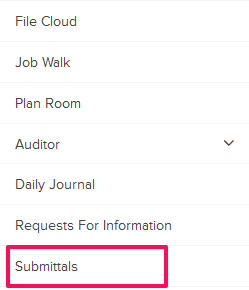
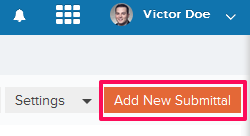
- Click on the Add New Submittal link. A white screen with a link will only show until you haven’t added any Submittals to the project. Once you add a Submittal, you will see a Add New Submittal button located on the top right corner of the screen. You can click on this button to add new Submittals.

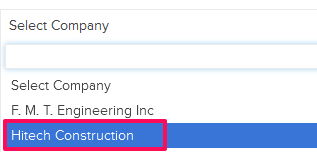
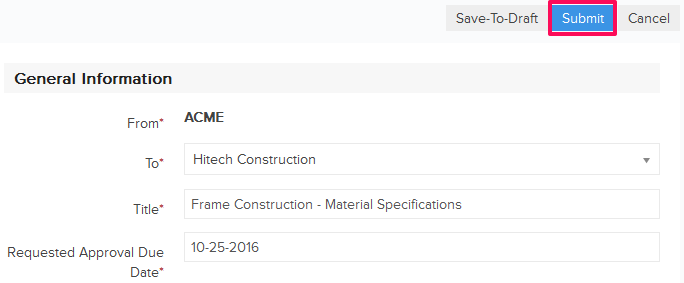
- Click on the Company drop down and select the company, to which you wan to send the Submittal to, from the drop down list.

- Enter a Submittal title in the Title field.

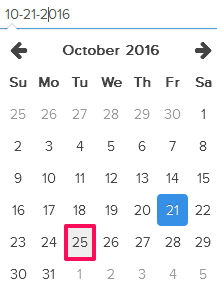
- Click on the Requested Approval Due Date field and select a date from the calendar.

- Click on the Attach Files drop down.
- Select the Attach From Computer option and select the files that you want to attach with the Submittal.
Note: You can also attach files from other cloud file storage services such as Google Drive, Dropbox, Box, ShareFile or One Drive. When you choose to attach files from a cloud service the system will ask for your permission to connect with the file storage service of your choice.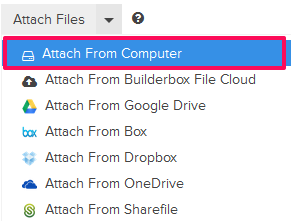
- Click on the Link Files drop down.
- Select the Attach From Builderbox File Cloud option and select the files that you want to link with the Submittal.
Note: You can also link files from other cloud file storage services such as Google Drive, Dropbox, Box, ShareFile or One Drive. When you choose to link files from a cloud service the system will ask for your permission to connect with the file storage service of your choice. “Linking Files” to a document is different than “Attaching Files.” When you link a file, it will only attach a link of the file from the cloud service and won’t make a snapshot (in time) of that file. On the other hand when you use the “Attach Files” feature, a snapshot (in time) of the attached files will be stored as record with the documents.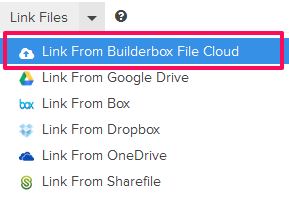
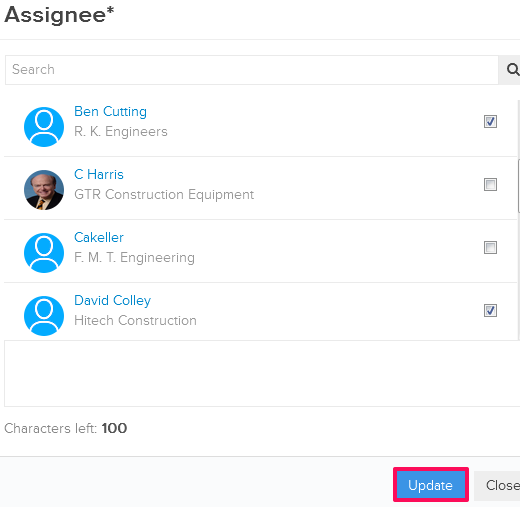
- Click on the Assignee text box. An Assignee pop up will show.

- Select the checkboxes next to the assignee names and then click on the Update button. The assignee names may be prepopulated based on your Workflow Settings.
- Click on the Submit button.
- Click on the Yes button.

- The Submittal will be sent to the assignees selected in the previous steps and a message will be posted on the Activity Stream. Assignees will also get notified by email based on their Notifications Settings.