Create Checklist Templates for Projects
In this topic, we'll show you how to create the Checklist Templates for Projects. These templates can be published and shared with other External Companies within a project.
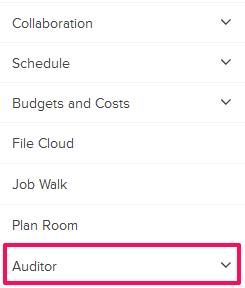
- Click on the Auditor module from the left navigation.
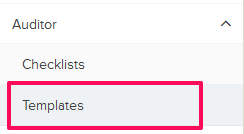
- Click on Templates from the drop-down list.
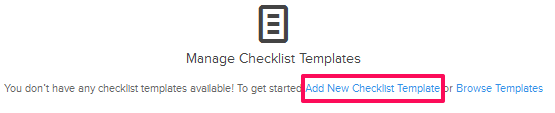
- Click on the Add New Checklist Template link. A new Checklist Template will be created and you will be redirected to the Checklist Template Designer page. There might be few Checklist Templates already added to the project and in that case you can use the Create New Template button.

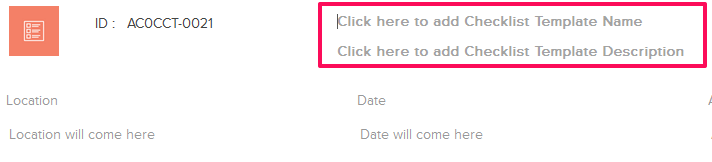
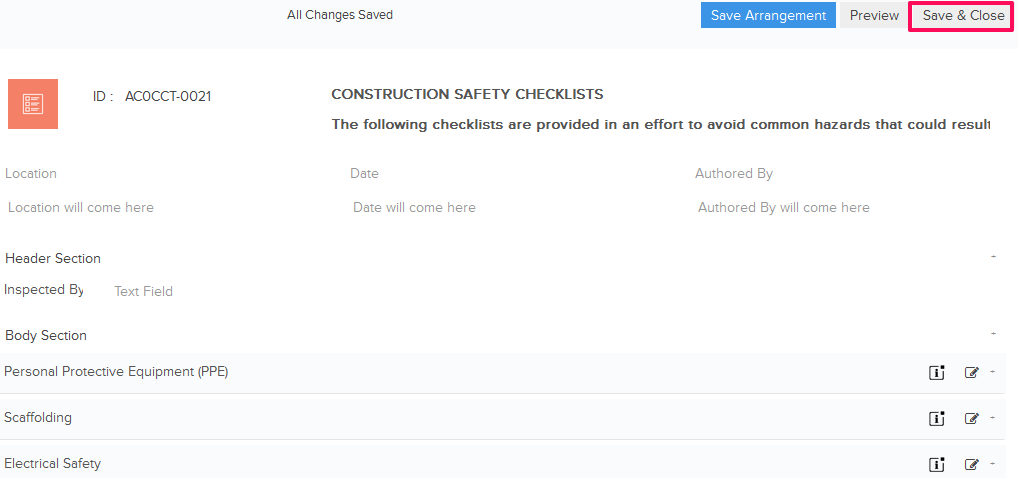
- The Checklist Template Designer will open a blank Checklist Template. Enter the Checklist Template name and description.
- Click on the Plus icon located inline with the Header Section.

- Click on the Add New Text Field.
Note: You can choose to add new Text Fields, Date Fields, Dropdowns, Text Areas and Image Sections.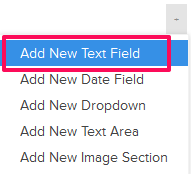
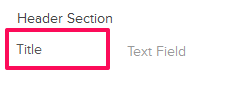
- Update the newly added Text Field’s label from Title to Inspected By. You choose to call it anything you like.
- Click on the Plus icon located inline with the Header Section once again.
- Click on Add New Image Section.
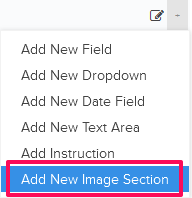
- A new Image Section will be added in the Header Section.
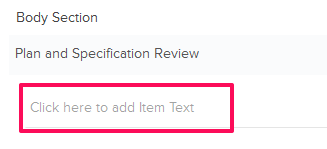
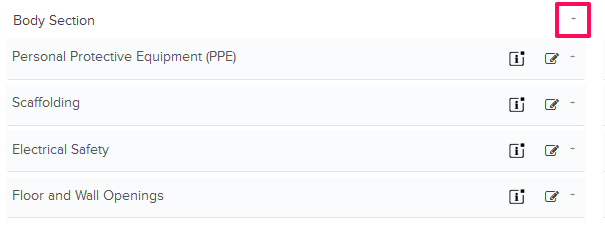
- Click on the Plus icon located inline with the Body Section.

- Click on Add New Section.

- Enter a title for the newly added Section.

- Click on the Plus icon located inline with the newly added Section.

- Click on Add New Checkbox Item.

- Enter the Checklist Item text in the input box.
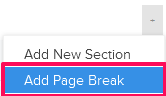
- Click on the Plus icon located inline with the Body Section.
- Click on Add Page Break. The Page Break feature will add a new page in the Checklist when you will create new Checklists using this Template.
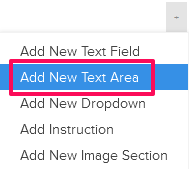
- Click on the Plus icon located inline with the Footer Section.

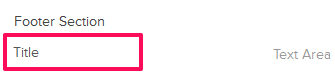
- Click on Add New Text Area.
- Add a new label for the newly added Text Area from Title to “Note:” You can add any label to the Text Area.
- Click on the Plus icon located inline with the Footer Section.

- Click on Add Instruction.

- Enter the instructions in the Instructions text box.

- Click on the Plus icon located inline with the Signature Section.

- Click on Add New Signature.
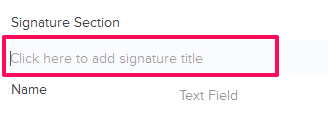
- Enter a title for the newly added Signature section.
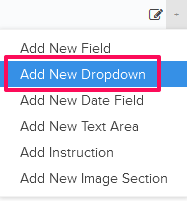
- Click on the Plus icon located inline with the Signature Title.

- Click on Add New Dropdown.
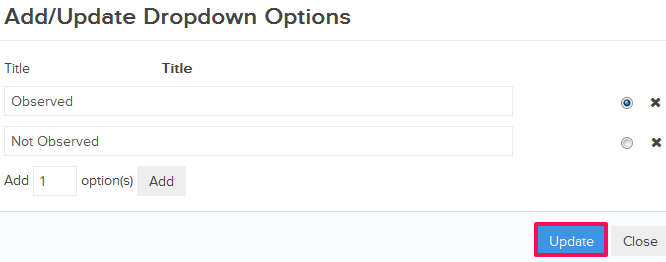
- Click on the Add/Update icon.

- Enter a title in the Title text box.

- Add few more Options for the drop-down and then select Radio button located inline with the Title to make it the default option.

- Click on the Update button.
- Click on the Save & Close button.
- Click on the Publish/Unpublished Template switch.

- The Checklist template will be published and it will be available in your project.
