Customize Job Walk Module
In this topic, we'll show you how to customize the Job Walk module.
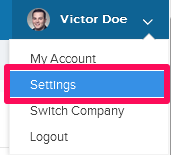
- Click on the profile image located on the top right corner of the Builderbox screen.

- Click on Settings.
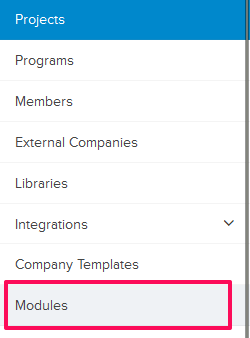
- Click on Modules option from the left navigation.
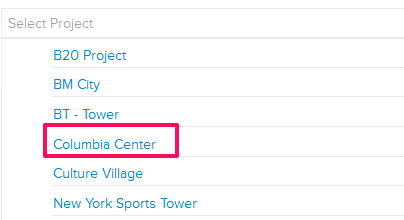
- Click on Select Project drop down and select a project from the list.

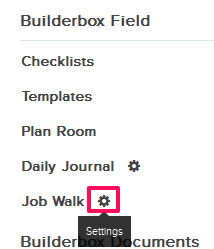
- Click on the Gear (Settings) icon located next to the Job Walk module. It is listed under Builderbox Field.
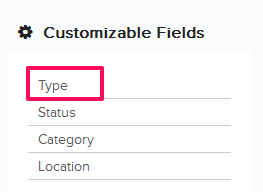
- You can customize the fields included in the Job Walk forms from here. For example let’s customize the Type field.
- Click on the Type link from the list.
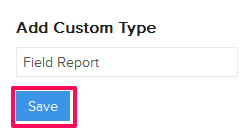
- Enter a name for the Type.
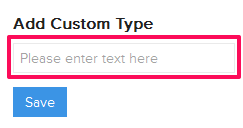
- Click on the Save button.
- A new Job Walk Type will be added to the Job Walk module and it will be available in the Type drop-down list in the Job Walk module. You can add any number of new Job Walk item Types to the list.

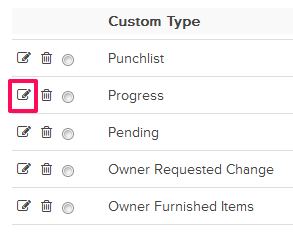
- Once added, you can easily update the Type and set it as default Type for every new Job Walk item added to the project.
- Click on the Edit icon.
- Update the Type and click on the Save icon.
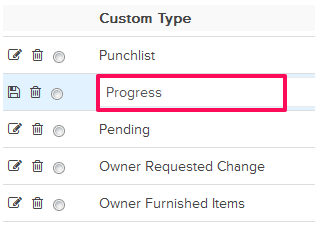

- The Type will be updated successfully.
- Now, let’s click on the Delete icon.
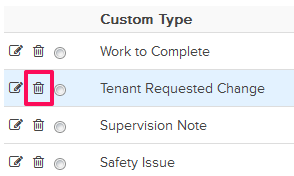
- Click on the Yes button.

- The selected Type will be deleted from the list.
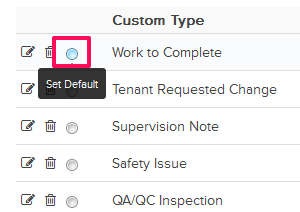
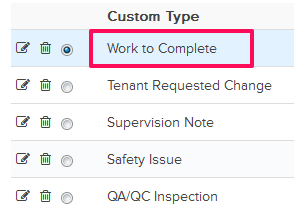
- Set the default Type for all newly added Job Walk items by clicking on the default Type radio button located next to the Type in the list.