Update Activity Information
In this topic, we'll show you how to update activity information.
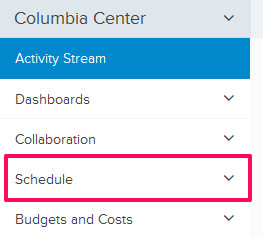
- Click on the Schedule module from the left navigation.
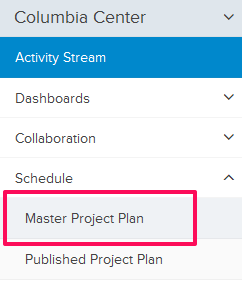
- Click on Master Project Plan from the drop-down list.
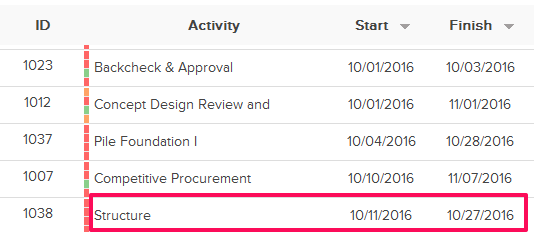
- Right click on the activity, that you want to update.
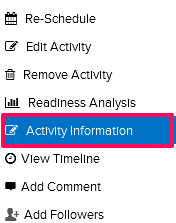
- Click on the Activity Information from the action list. A toggle window will be displayed with the activity information.
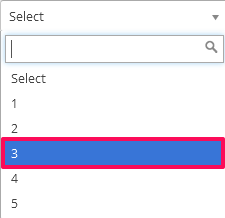
- Click on the Importance drop down and select the importance from the drop down list.

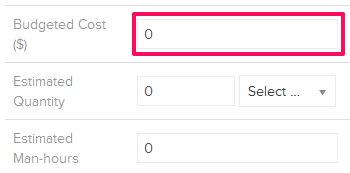
- Enter the budgeted cost (If you have it available) in the Budgeted Cost input box.
- Enter the actual cost (If you have it available) in the Actual Cost input box.

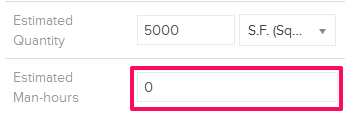
- Enter the estimated material quantity (if applicable) in the Estimated Quantity input box.
- Click on the Unit drop-down and select the measurement unit from the drop down list.

- Enter the estimated man-hours (If you have it available) in the Estimated Man Hours input box.
- Click on the Assignments tab.

- Click on the Add New Assignment button.
Please note that Assignments are meant to add details to a given activity. It can be used as a checklist of items needed to complete a planned activity.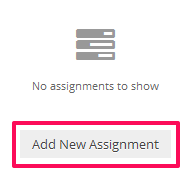
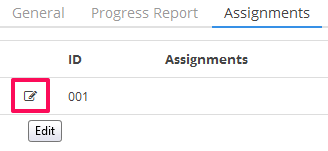
- Click on the Edit icon.
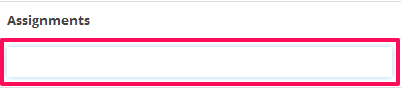
- Enter the assignment name in the Assignment input box.
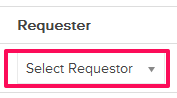
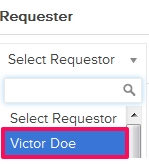
- Click on the Requester drop down and select the requestor from the drop down list.
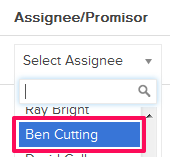
- Click on the Assignee/Promisor drop down and select the assignee from the drop down list.

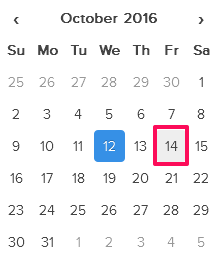
- Click on the Due Date field and select a due date from the calendar.

- Click on the Save icon.

- Click on the Constraints tab.
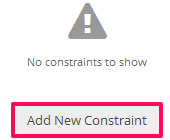
Note: Constraints are all the roadblocks in making the activities ready for execution. You might have constraints related to weather, permits, inspections etc.
- Click on the Add New Constraint button.
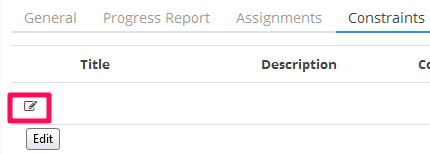
- Click on the Edit icon.
- Enter a Constraint title in the Title input box.
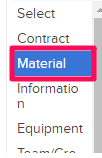
- Click on the Constraint Type drop down and select the constraint type from the drop down list.
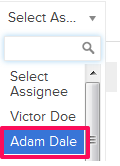
- Click on the Assignee drop down and select an assignee from the drop down list.
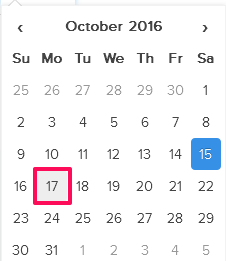
- Click on the Due Date field and select a date from the calendar.

- Click on the Save icon.
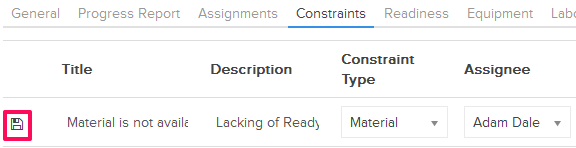
- The constraint will be successfully saved.
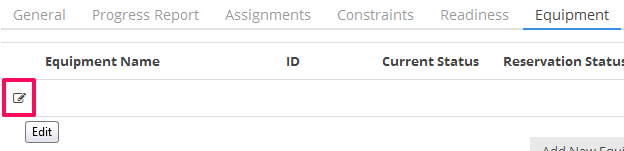
- Click on the Equipment tab.

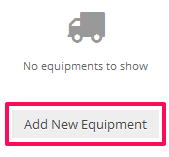
- Click on the Add New Equipment button.
- Click on the Edit icon.
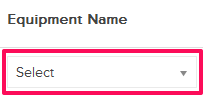
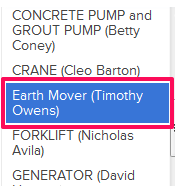
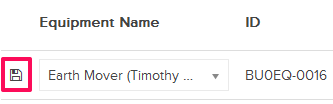
- Click on the Equipment Name drop down and select the equipment name from the drop down list.
- Click on the Save icon.
- Click on the Reserve link.
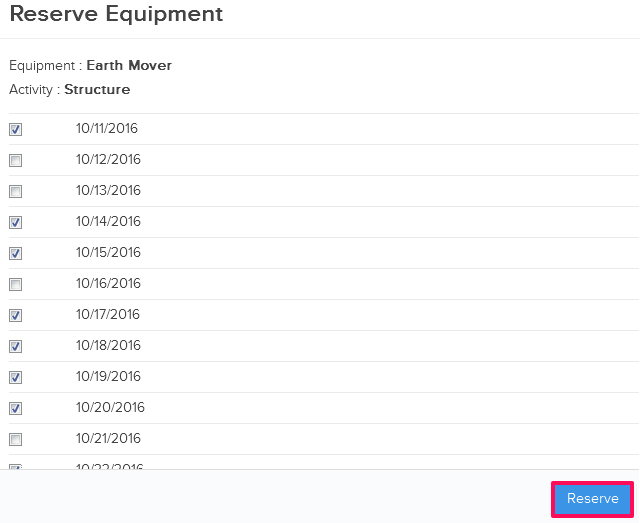
- Select the checkboxes next to the dates and then click on the Reserve button.
- Click on the OK button. The equipment will be successfully reserved for selected dates.
Note: The reservation feature allows you to block the dates when you will need certain shared equipment for your assignment. We will put together an Equipment Coordination Calendar for you to coordinate with others who might be planning to use the same equipment on the same dates.
- Click on the Labor tab.

- Click on the Add New Team button.
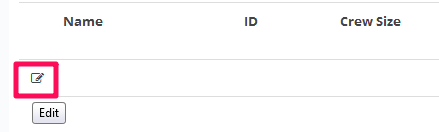
- Click on the Edit icon.
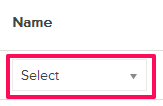
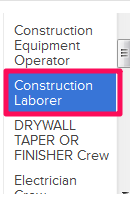
- Click on the Crew drop down and select the crew from the drop down list.
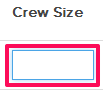
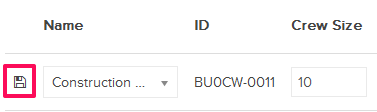
- Enter the crew size in the Crew Size input box.
- Click on the Save icon.
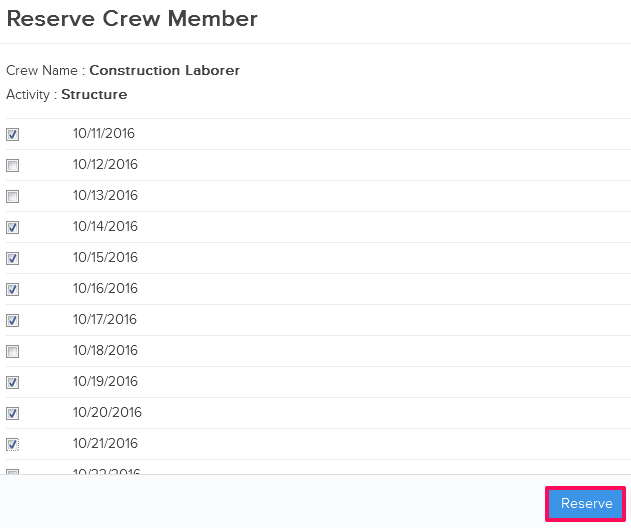
- Click on the Reserve link.

- Select the checkboxes next to the dates and then click on the Reserve button.
- Click on the OK button. The crew will be successfully reserved for selected dates.
Note: The reservation feature allows you to block the dates when you will need certain shared crews for your assignment. We will put together a Crew Coordination Calendar for you to coordinate with others who might be planning to use the services of the same crew on the same dates.
- Click on the Material tab.

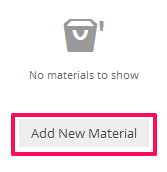
- Click on the Add New Material button.
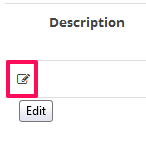
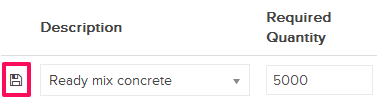
- Click on the Edit icon.
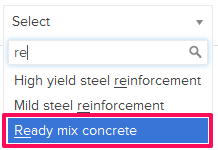
- Click on the Description drop down and select the material from the drop down list.

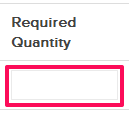
- Enter the required quantity in the Required Quantity input box.
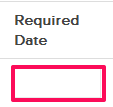
- Click on the Required Date field and select a date from the calendar.
- Click on the Save icon.
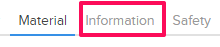
- Click on the Information tab.
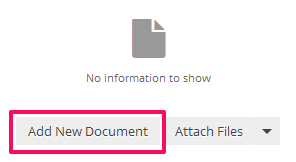
- Click on the Add New Document button.
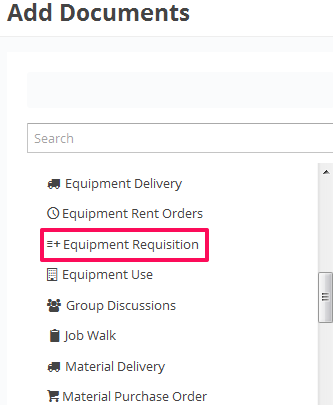
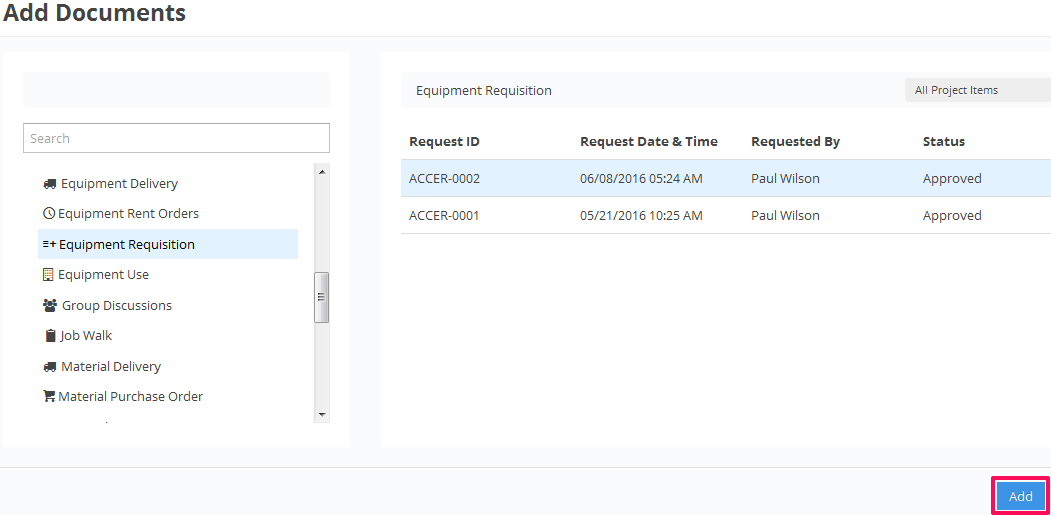
- Select a Module from the modules listed on the left side of the window.
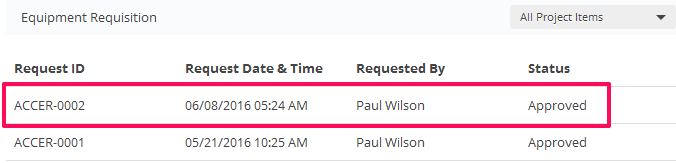
- Select a Document from the documents listed in the right side of the window.
- Click on the Add button. The selected document will be added successfully.
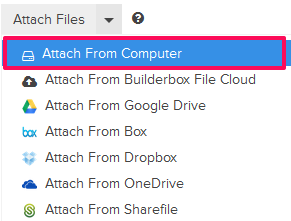
- Click on the Attach Files drop down.

- Click on the Attach From Computer and attach the files from your system.
- Select a file from your computer and attach it.
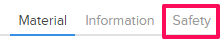
- Click on the Safety tab.
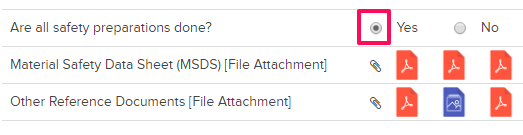
- Select the Yes radio button, in the Safety section.
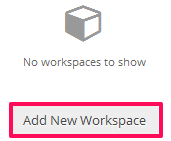
- Click on the Workspace tab.

- Click on the Add New Workspace button.
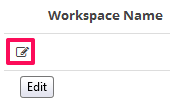
- Click on the Edit icon.
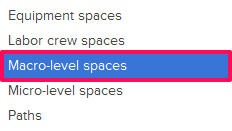
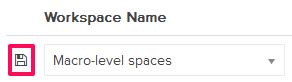
- Click on the Workspace Name drop down and select a workspace from the drop down list.

- Click on the Save icon.
- Click on the Reserve link.
- Select the checkboxes next to the dates and then click on the Reserve button.

- Click on the OK button. The workspace will be successfully reserved for selected dates.
Note: The reservation feature allows you to block the dates when you will be performing the work in a workspace. We will put together a Workspace Coordination Calendar for you to coordinate with other who might be planning to work in the same workspaces on the same dates.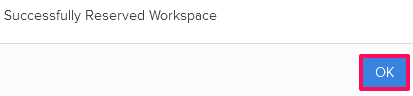
- Click on the Dependencies tab.

- Click on the Add New Activity button.

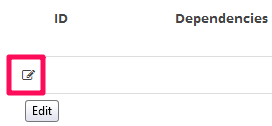
- Click on the Edit icon.
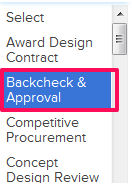
- Click on the Dependencies drop down and select the activities from the drop down list.
- Enter the quantities (if applicable) in the Completed Quantity and Remaining Quantity input boxes.
- Click on the Save button.
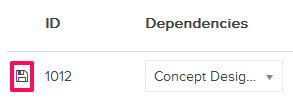
- The dependency information will be successfully added.