Add New Team Members to Your Projects
In this topic, we'll show you how to add Team members to your project.
From the Members page
(i) Invite Employees
- Choose a project from the Home page and go to the Activity stream.
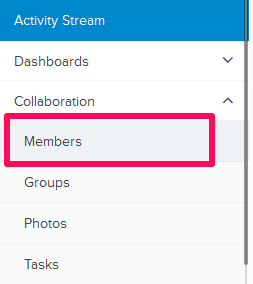
- Click on the Collaboration
module from the left navigation.
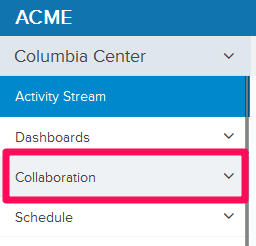
- Click on the Members module from the drop down list.
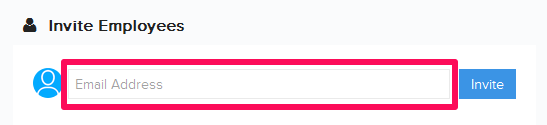
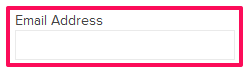
- Click on Email Address field located in the left side of the page under Invite Employees.
- Enter the email address of the team member and click on the Invite button.
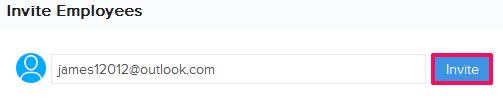
- The team member will be invited to the project workspace as an employee.
Note: Employees, as the name suggests, are the team members from your own company (Super Admin’s Company) and have access to different content based on the Team Member role. You can customize the Team Member role from Settings >> Roles >> Project Roles.
(ii) Invite Guests
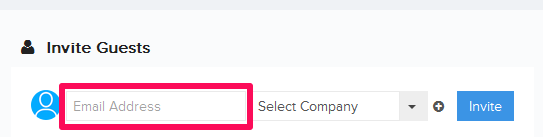
- Click on Email Address field located in the right side of the page under Invite Guests.
- Enter the email address of the team member.
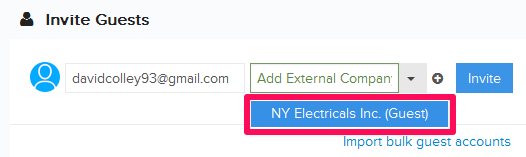
- Select the company of the team member from the External Company dropdown.
Note: If you do not find the company in the drop down list, click on the plus icon (+) for adding the External Company to your project. Once added successfully, the company will be listed in the dropdown.
- After selecting the External Company, click on the Invite button.
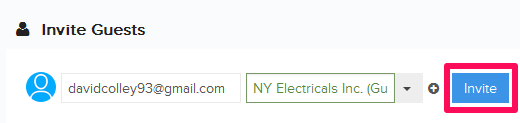
- The team member will be invited to the project workspace as a guest.
Note: Guests, as the name suggests, are the team members from companies other than your own company (Super Admin’s Company) and have access to different content based on the External Team Member role. You can customize the External Team Member role from Settings >> Roles >> Project Roles.
From the Settings > Members Page
(i) Invite Directory Members
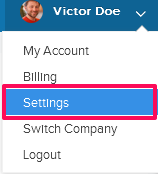
- Click on the profile image located on the top right corner of Builderbox screen.

- Click on Settings.
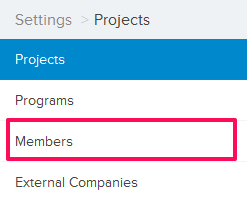
- Click on Members, listed on the left navigation.
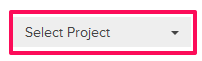
- Click on the Project selection drop down.
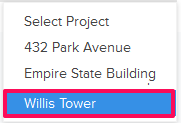
- Select the project, to which you want to add a team member to, from the project drop down.
- Select the Directory tab.
Note: Directory is a list of team members who are added to your project but they are not Builderbox Registered Users yet. A Builderbox Registered User is a user with signin credentials and access to the service. These are the users who have been sent an invitation to setup an account or the once who subscribed themselves for the service. For documentation purposes, you can add unlimited number of members to the Directory that do not count as Builderbox Registered Users. You can later invite these members to become Builderbox Registered Users.
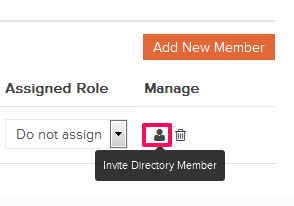
- Click on the Add New Member button.
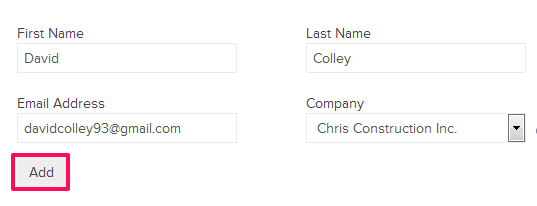
- Enter the first name, last name and the email address of the team member.

- Select the company of the team member from the Company.
Note: If you do not find the company in the drop down list, click on the plus icon (+) for adding the External Company to your project. Once added successfully, the company will be listed in the dropdown.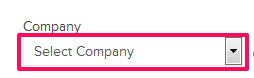
- Click on the Add button.
- The team member will be added to the Directory. You can
stop at this stage if you do not want to give the team member access to
the project workspace yet. You can later invite the members from this
list to the project workspace by following the steps below.

- Click on the Invite team member. An alert, asking your permission to invite the team member, will pop up.
- Click on the Yes button. An invitation will be sent to the invited team member and the team member will be listed on the Members page in the project.
