Create Checklists
In this topic, we'll show you how to create the Checklists
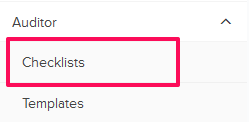
- Click on the Auditor module from the left navigation.

- Click on Checklists from the drop-down list.
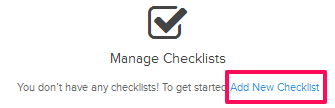
- Click on the Add New Checklist link. You might see few Checklists already listed on this page. In that case use the Add New Checklist button to add new Checklists.

- Select a template from the list.
Note: All the Checklists are created using the prebuilt Checklist Templates. You can add new Checklist Templates using the Templates Module.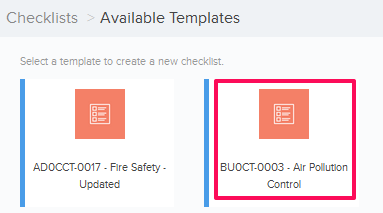
- Enter the Checklist Title in the text box.

- Enter the data in the relevant input boxes in the header section and then click on the Start button.


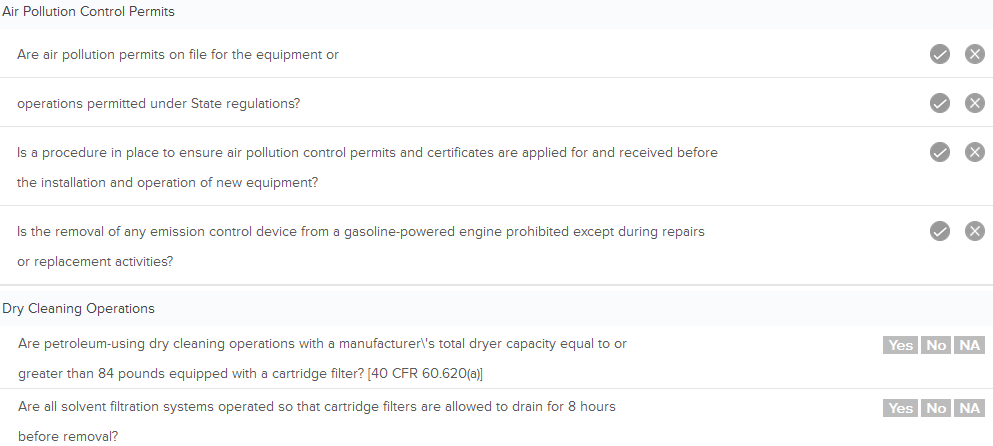
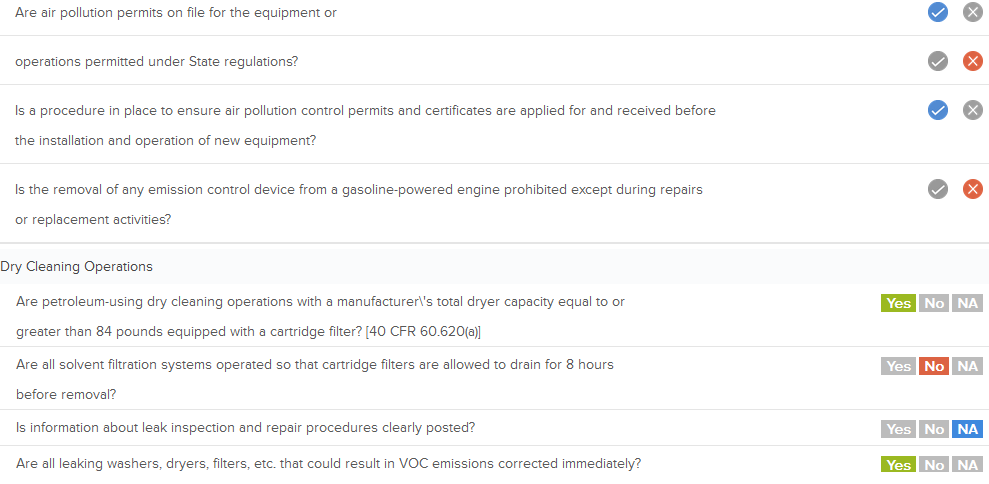
- Answer the questions by clicking on Yes, No or NA buttons in the body section.
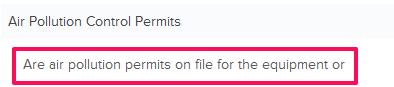
- Select an item in the body section.
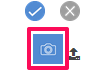
- Click on the Image Upload icon and upload an image file.
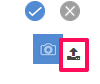
- Click on the File Upload icon.
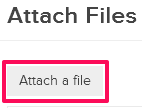
- Click on the Attach a file button.
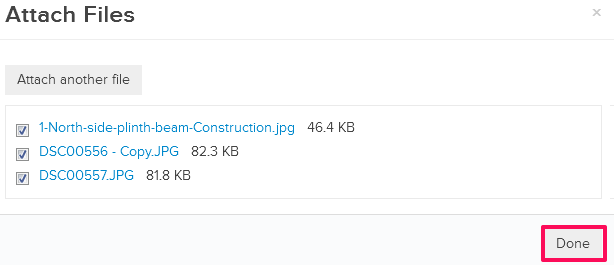
- Click on the Browse button and upload the image files.

- Click on the Done button.
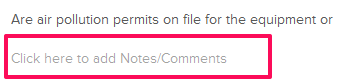
- Enter your notes/comments in the Notes/Comments text box.
- Click on the Next button.

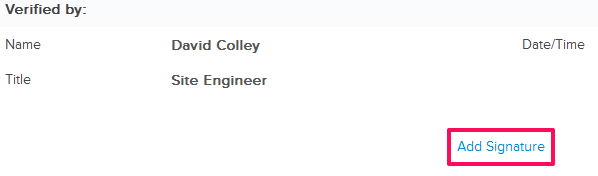
- Update the signature section.
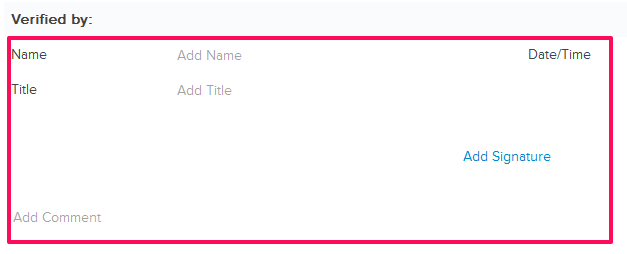
- Click on the Add Signature link.
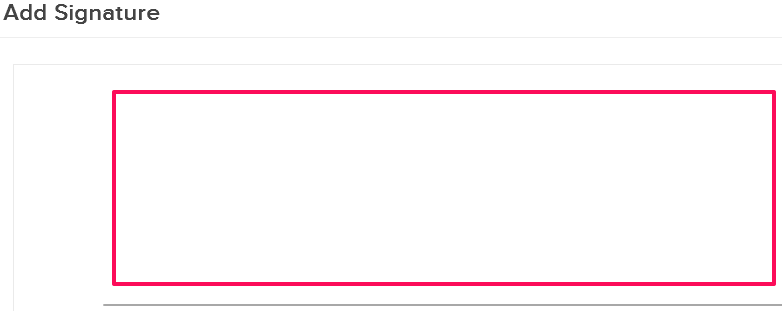
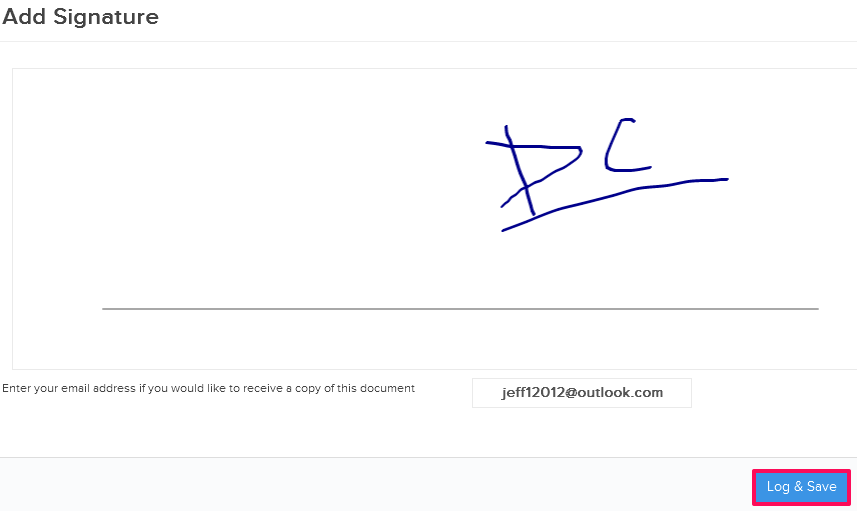
- Add your signature in the Signature box.
- Click on the Log & Save Once you click on Log & Save, a copy of the Checklist in the current state will be saved for your reference under Revision section of the Checklist.
- Click on the Finish button.
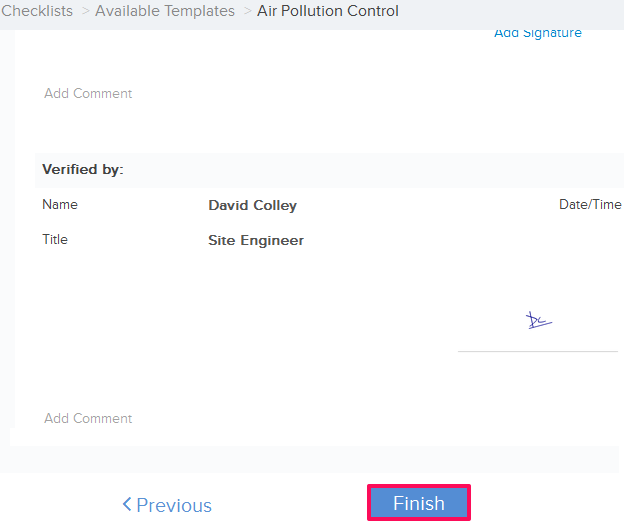
- The Checklist will be saved in your project.