Create Company Templates for Checklists
In this topic, we'll show you how to create Company Templates for Checklists. Company Templates for the Checklists can be used to create a standard library of Checklist Templates for your company and later share the same with all your projects for a company wide standardization.
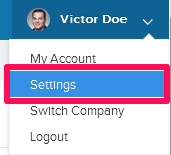
- Click on the profile image located on the top right corner of the Builderbox screen.

- Click on Settings.
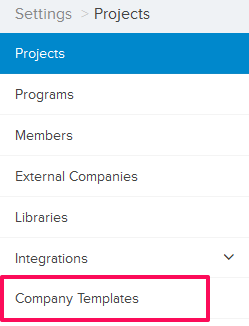
- Click on Company Templates, listed on the left navigation.
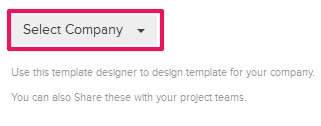
- Click on the Select Company drop-down.
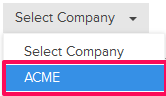
- Select a company from the drop-down list.
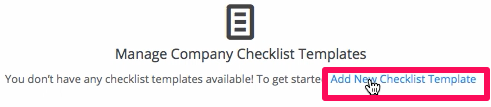
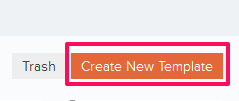
- Click on the Add New Checklist Template link. You may see few Checklist Templates listed on this page. In that case, use the Create New Template button.
- The Checklist Template Designer will open a blank Checklist Template. Enter the Checklist Template name and description.

- Click on the Plus icon located inline with the Header Section.

- Click on the Add New Text Field.
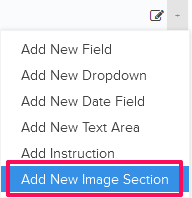
Note: You can choose to add new Text Fields, Date Fields, Dropdowns, Text Areas and Image Sections.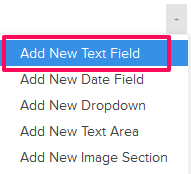
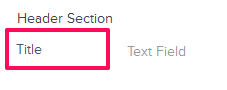
- Update the newly added Text Field’s label from Title to Inspected By. You choose to call it anything you like.
- Click on the Plus icon located inline with the Header Section once again.
- Click on Add New Image Section.
- A new Image Section will be added in the Header Section.
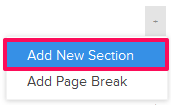
- Click on the Plus icon located inline with the Body Section.

- Click on Add New Section.
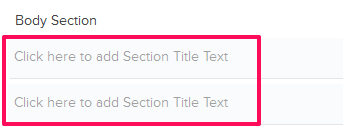
- Enter a title for the newly added Section.
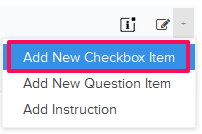
- Click on the Plus icon located inline with the newly added Section.

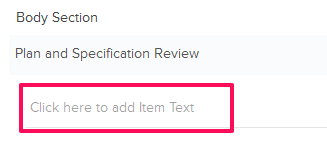
- Click on Add New Checkbox Item.
- Enter the Checklist Item text in the input box.
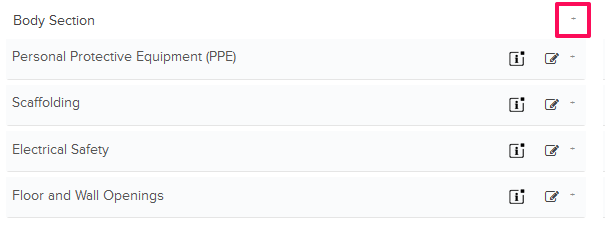
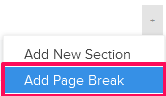
- Click on the Plus icon located inline with the Body Section.
- Click on Add Page Break. The Page Break feature will add a new page in the Checklist when you will create new Checklists using this Template.
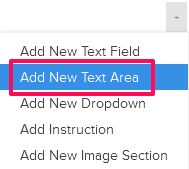
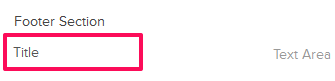
- Click on the Plus icon located inline with the Footer Section.

- Click on Add New Text Area.
- Add a new label for the newly added Text Area from Title to “Note:” You can add any label to the Text Area.
- Click on the Plus icon located inline with the Footer Section.

- Click on Add Instruction.
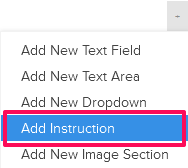
- Enter the instructions in the Instructions text box.

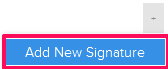
- Click on the Plus icon located inline with the Signature Section.

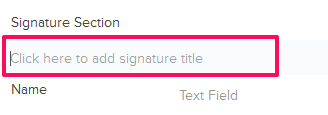
- Click on Add New Signature.
- Enter a title for the newly added Signature section.
- Click on the Plus icon located inline with the Signature Title.

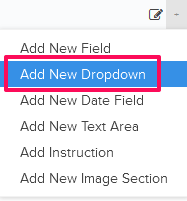
- Click on Add New Dropdown.
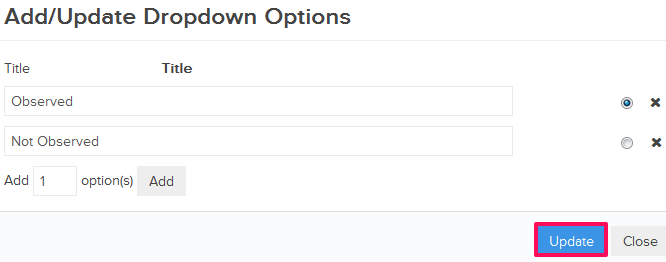
- Click on the Add/Update icon.

- Enter a title in the Title text box.

- Add few more Options for the drop-down and then select Radio button located inline with the Title to make it the default option.

- Click on the Update button.
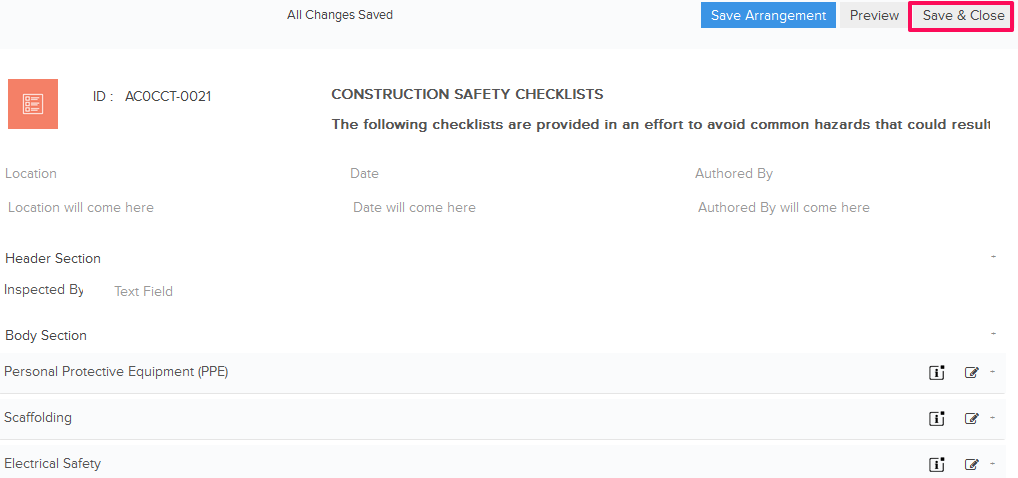
- Click on the Save & Close button.
- Click on the Publish/Unpublished Template switch.
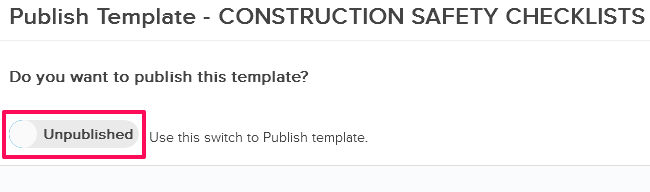
- The Checklist template will be published and it will be available in the company’s projects for Import.
