Add New Job Walk Items
In this topic, we'll show you how to add a Job Walk item in your project.
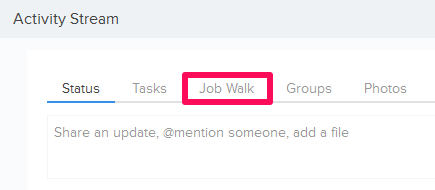
From the Activity Stream
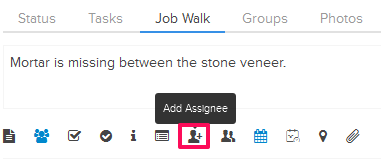
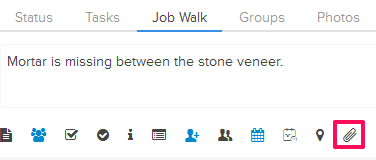
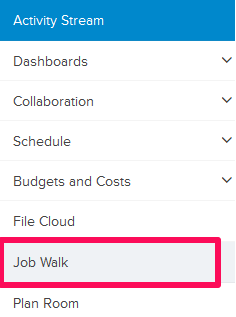
- Click on the Job Walk tab on the Activity Stream.
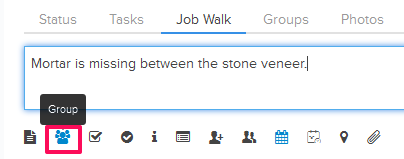
- Enter the Job Walk item name in the text box.

- Click on the Group icon.
- Select a Group from the list.
Note: You can add new groups to this list by adding new groups in the Groups module.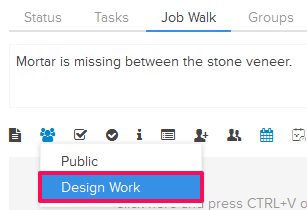
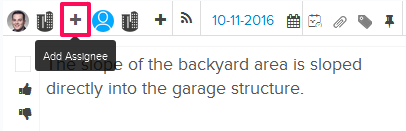
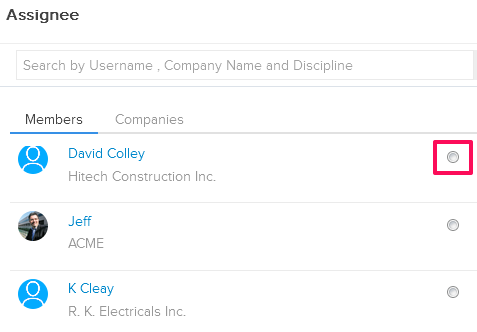
- Click on the Add Assignee icon.
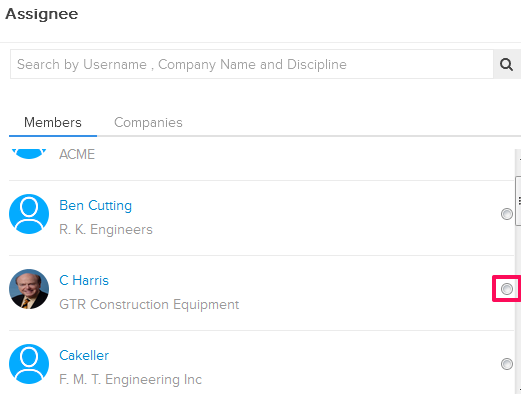
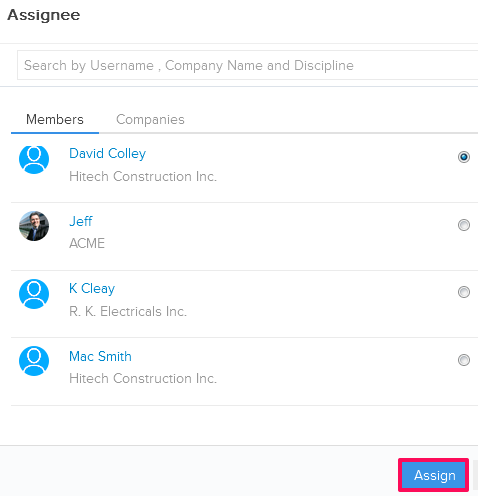
- Select an assignee by clicking on the radio button.
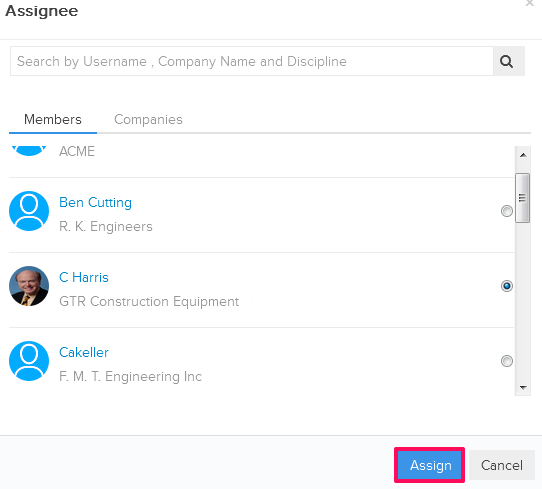
- Click on the Assign button.
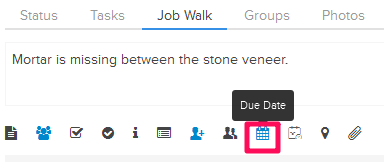
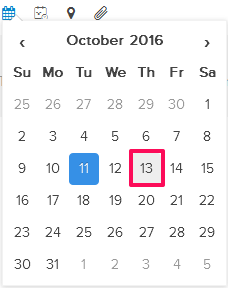
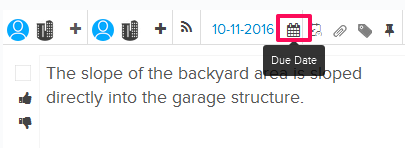
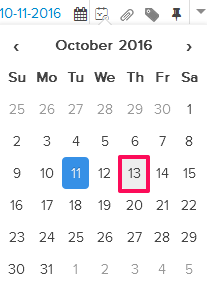
- Click on the Due Date icon and select a Due Date from the calendar.
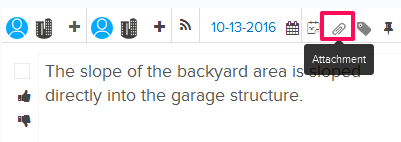
- Click on the Attach File icon.
- Select the Attach From Computer option and then select the files that you want to attach with the Job Walk item.
Note: You can also attach files from other cloud file storage services such as Google Drive, Dropbox, Box, ShareFile or One Drive. When you choose to attach files from a cloud service, the system will ask for your permission to connect with the file storage service of your choice.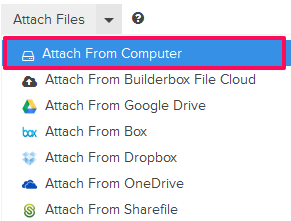
- Click on the Post button.
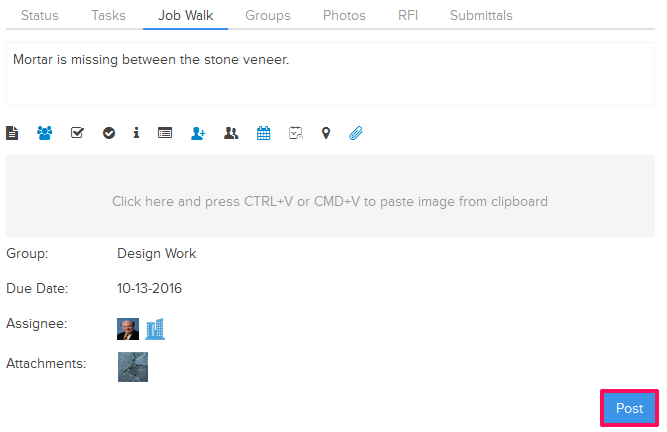
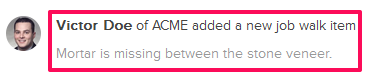
- The newly added Job Walk item will be posted on the Activity Stream and it will be also added to a list in the Job Walk module. You can access the Job Walk module by clicking on Job Walk from the left navigation.
From the Job Walk page
- Click on Job Walk module from the left navigation.
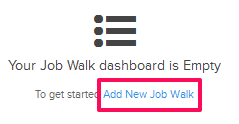
- Click on the Add New Job Walk link. The link shows up only if you don’t have any Job Walk item added to your project. If you have already added few Job Walk items earlier, you can add new Job Walk item by clicking on Add New Item button.

- Enter Job walk item name.

- Click on the Add Assignee icon located in the right side of the page under Item Details section.
- Select an assignee by clicking on the radio button.
- Click on the Assign button.
- Click on the Due Date icon and select a Due Date from the calendar.
- Click on the Attachment.
- Select the Attach From Computer option and select the files that you want to attach with the Job Walk item.
Note: You can also attach files from other cloud file storage services such as Google Drive, Dropbox, Box, ShareFile or One Drive. When you choose to attach files from a cloud service the system will ask for your permission to connect with the file storage service of your choice.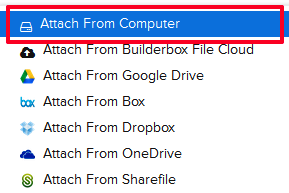
- The Job Walk item will be added successfully.