Add New Projects
In this topic, we'll show you how to add new projects
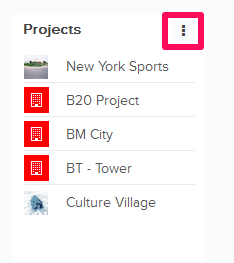
From the Home Page
- Click on the More Options icon next to Projects on the Home page.
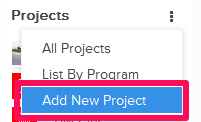
- Click on the Add New Project option from the drop down list.
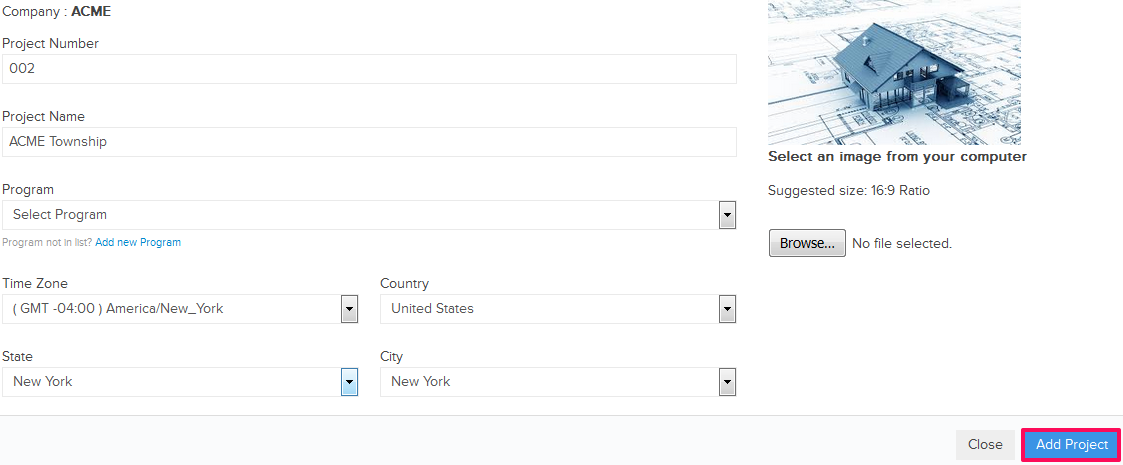
- Enter the Project Number (Optional).

- Enter the Project Name.
- Select a Program from the Program drop down (Optional).

- Click on the Browse button and upload a project image from your computer.
Note: Time Zone and Country/State/City will be pre-populated based on your current time zone and location. You can change it later.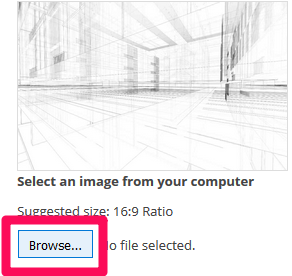
- Click on the Add Project button.
- A new project will be added and the user will be redirected to the Project Dashboard page. Note: Once the project is added successfully, It will also be listed on the Home page.
From the Settings >> Projects Page
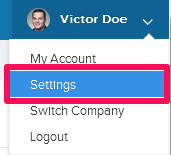
- Click on the profile image located on the top right corner of the Builderbox screen.

- Click on Settings.
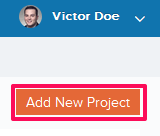
- Click on the Add New Project button located in the top right corner.
- Enter the Project Number. (Optional)
- Enter the Project Name.
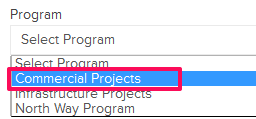
- Select the Program from the Program drop down (Optional).
- Click on Browse button and upload a project image from your computer (Optional).

- Click on the Save button.
Note: Time Zone and Country/State/City will be pre-populated based on user’s current time zone and location. User can change them later.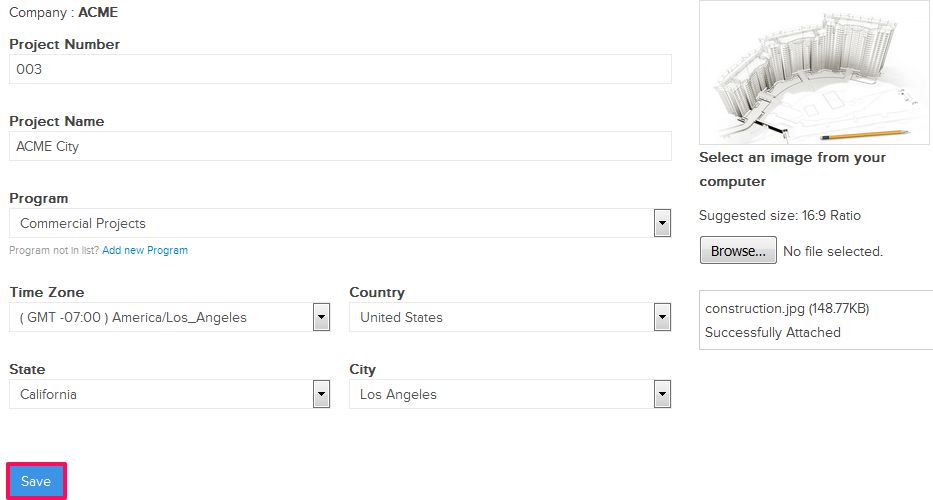
- A new project will be added and listed under Settings >> Active Projects page.
Note: Once the project is added successfully, It will also be listed on the Home page.